PC Case Sound Dampening – Does It Actually work?

Share:
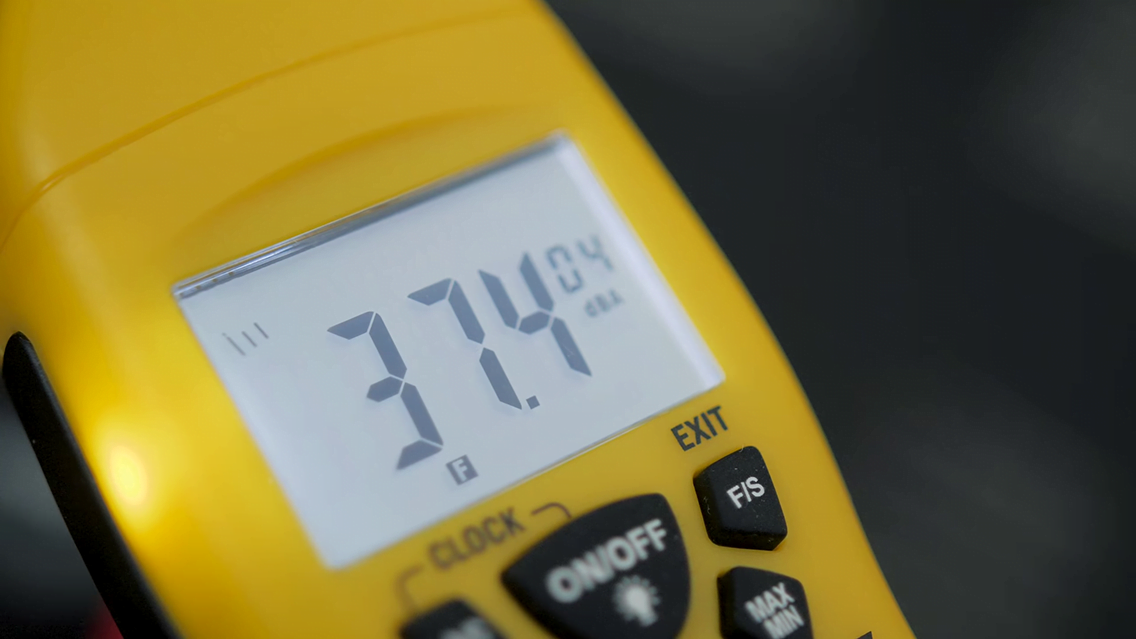
I finally got a sound level meter so that we can test to see if sound, everything material on PC cases actually works. This is going to be non-scientific, but before we get into that I want to establish a sound reference as to how loud certain things are around the household in my everyday life.
Measuring The Home World


I’m super excited to hear the difference between sound dampening material inside a PC case versus no sound deadening at all. This is going to be non-scientific, but I’m still going to have fun with it and hopefully we will learn something.


The test subject for this test is the SilverStone KL07 from the Kublai series. I’m using it because it’s one of the only cases that I have that has a completely closed off interior, and also it is silenced focus. It comes with this really thick noise dampening material applied on all of the side panels, on the front panel, and even the top panel. For the fans I am basically populating every single fan slot inside of this case. I’m keeping the two stock fans that came with the case, but I’m also populating two more 140mm fans at the top, one 140mm more fan for exhaust, and also there is the one fan for the CPU cooler and of course the GPU.
Lots of Fans


There are six fans in total, three of which are the be quiet! Silent Wings 3 140mm fans. I love these fans, they are super quiet but I will be running them at 100% speed in order cause as much noise as possible. Having two fans for the top is totally overkill, but the whole idea is to introduce as much airflow and noise as possible and basically see what happens.
Sound Dampening Foam


This is how the case comes stock, with sound dampening on the top, on the front, and on both side panels. The interesting thing about this material is it’s the thickest I have ever come across on a PC enclosure, it’s almost as thick as my finger. Usually sound dampening material is very thin and dense, but here SilverStone has taken a different approach where we can actually see the dimples. I guess they should help to capture the sound waves so they vibrate in between the dimples and don’t allow the sound to escape. This material is interesting, it’s almost memory foam like and it’s very porous looking. It’s almost like if you were to pour water on hit it would just absorb everything.


Time to close the rear side panel and complete the build.
Methodology


I will be measuring the sound levels from four different areas. One on the side measuring from how much noise is escaping from the side panel. We got one behind the monitor facing the rear of the case to see if there is any difference in how much noise is escaping the case based on the airflow from the one exhaust fan. We also have one aimed at the front of the case, and lastly one aimed at the right side panel so see if there is any audible difference with the left side panel. All four locations are an equal distance from each other.
Testing Begins


Now the computer is off, my phone is on silent, everything else in this room is completely off aside from my light, but I don’t think that’s making any noise anyway. I’m going to do three tests, the first one is to measure ambient sound, so turn off the system and measure the audible dBA at all four locations without the system on. I’m going to then turn on the system and measure what the dBA is without all the side panels, and then measure with all the side panels back on, and then take out all the sound dampening materials – like literally rip it off the side panels – and see if there is any progression in how that dBA changes. One more thing that I want to mention is the sound meter level is on a tripod, I will not be touching it during its recording time.


So full disclosure, when I completed the first sound stage I realized that I made a mistake. Even though all the fans inside the system were running at 100% fan speed, the GPU was idling and therefore I needed to increase the fan speed on the GeForce GTX 1070 to 100% to make the system as noisy as possible and potentially give me a greater difference between when panels are on/off and when the sound dampening material is removed.


No turning back now, let’s get rid of all the sound dampening foam. It’s a good thing that it’s kind of just glued on there and it’s all one thick piece, so I can just peel it off. The first panel was a little bit of a learning experience, but the foam on the next panels mostly came off in one piece. Once all the foam was removed the only thing left to do was put the panels back on and redo the audio test.
Results


Looking at the graphs, the ambient variation in dBA is probably due to the different heights the microphone was placed, so that’s understandable. However, there is something very unique that I have discovered, and that is when the panels are off and we are recording from the rear the audio is actually quieter when the side panels are not on the case. I’m thinking that is because when the side panels are on any audio that escapes goes through the back versus if the side panels are open the audio can disperse throughout the case and it can exit wherever it wants. As a result, the case is the loudest at the rear when the side panels are completely closed because there is no other area for the audio to escape.


The moment of truth has come, and as you can see without any sound dampening foam the general system noise levels are higher. The dBA levels do increase by a little bit, more so on the rear and on the left sides than the right or the front. Just to make sure that I was accurate I tested the ambient room sound as well, and my results were identical to what I tested a few hours prior. Therefore any differentiation that you will see without any foam removed is associated with the removal of the foam and not other factors inside the room.


More interestingly, when I turned the GPU fan to 100% on all sides we see about a very consistent 0.9 dBA increase. As you can see from rear, right, front, and the left. This is pretty interesting because as the system gets louder it seems like the sound dampening material helps to absorb and dampen more of that sound versus when the system is a little bit quieter. In our example, we shaved about 0.9 dBA with the GPU at 100% with the foam installed versus about 0.5-0.6 dBA with just the fans at 100% and the GPU at idle. But with all that said, the dBA difference between foam and no foam is only 0.9 dBA so that is well within margin of error, even though I tried to reduce the variables that could impact those tests. I still think that the foam quantifiably has proven to reduce and dampen some of the sound, but we cannot ignore the fact that mathematics tells us that if we are in that margin of error that something else could be the factor in affecting our results.


What does this all mean for your future case buying decision if you are going to silent route? I have always said that you choosing the right hardware components is more important if you are building a completely silent system. This means choosing quality fans that are lower RPM, maybe avoiding all-in-one liquid coolers so you avoid any pump noises and stuff like that, going with a custom GPU that has a larger heat sink and maybe has fans that don’t even spin at idle and low load situations. Now that is not to say that the case is not important, and as I have proven today that slight reduction in the dBA levels with the sound dampening material installed is something that will help to reduce the overall noise level of your system.
Conclusion


I hope you enjoyed this article and thank you for experiencing this project with me. I made sure that my ambient acoustic levels were the same as when they started to eliminate any potential for other noises to affect the room, and I’m happy that the ambient acoustic levels were exactly the same throughout the test. This leads me to believe that the sound dampening foam actually works even though it’s only a slight difference of 0.9 dBA at full system load with the GPU and the all those fans at 100%. The most interesting finding for me was the dBA readout from the rear without any side panels versus with the side panels were on, as that shows you that the rear is louder when the side panels are on. I believe that is because there is nowhere for the sound to escape aside from towards the back. Maybe that little tidbit of information could potentially help you to place your case in an a way to minimize the sound that you hear..
Buy items in this review from Amazon at the links below:
White Body (Brown Switch) – http://geni.us/E0jy53B
Black Body (Brown Switch) – http://geni.us/aYsG
Black Body (Blue Switch) – http://geni.us/0viydfc
Silverstone KL07 (Silent Case) – http://geni.us/3Wu1f3
Silent Wings 3 Fan (140mm) – http://geni.us/r5KE
Silent Wings 3 Fan (120mm) – http://geni.us/VFEB