What's new
  • Please do not post any links until you have 3 posts as they will automatically be rejected to prevent SPAM. Many words are also blocked due to being used in SPAM Messages. Thanks!

Gallery Element S Build

Astaroth

Well-known member
Joined
Sep 4, 2010
Messages
168
Hello fellow enthusiasts. Thought I'd share my build. Nothing too spectacular. You can also witness horrifying cable management. It's housed within an Element S case. Which is pretty plain and utilitarian. I changed the stock fans for red LED ones. Ok I'll stop the rambles and get on with it.

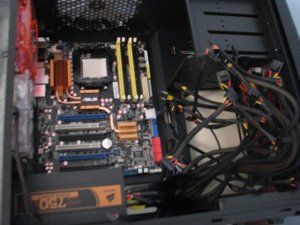
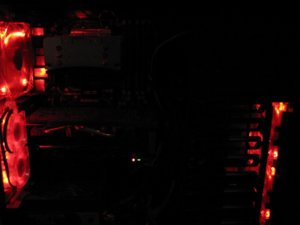
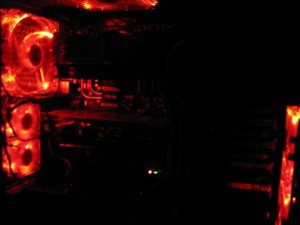
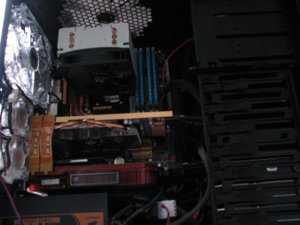
1. Here we have the M3A79-T deluxe installed. I swapped out the stock 140mm with 120mm Red LED Apreva fan. There's dual 60mm Evercool PCI exhaust fans installed as well. Dumb mistake to do it this early as you will soon figure out. HD cage is out, and PSU spaghetti.
 

Attachments

  • E01.jpg
    E01.jpg
    57 KB · Views: 812

Astaroth

Well-known member
Joined
Sep 4, 2010
Messages
168
2. AMD 940 BE installed. Sitting atop is a Xigmatek (I forgot the model #) heatsink. 4GB of Kingston RAM seated in their slots.
 

Attachments

  • E02.jpg
    E02.jpg
    54.4 KB · Views: 794

Astaroth

Well-known member
Joined
Sep 4, 2010
Messages
168
3.Powercolor 512mb 4870 installed along with linksys network card. Had to remove 60mm fans to install them. Doh!
 

Attachments

  • E03.jpg
    E03.jpg
    50.8 KB · Views: 794

Astaroth

Well-known member
Joined
Sep 4, 2010
Messages
168
4. HDD are in place. Everything is plugged in. Cable management non-existant.
 

Attachments

  • E04.jpg
    E04.jpg
    56.8 KB · Views: 889

Astaroth

Well-known member
Joined
Sep 4, 2010
Messages
168
5. A shot much later in time. 8GB of G.Skill memory added to replace the Kingstons. Did my best to cable manage. Not much space in the back of this case to really hide them.
 

Attachments

  • E05.jpg
    E05.jpg
    140.2 KB · Views: 823

Astaroth

Well-known member
Joined
Sep 4, 2010
Messages
168
6. Obligatory mood lighting shot
 

Attachments

  • E06.jpg
    E06.jpg
    56.5 KB · Views: 808

Astaroth

Well-known member
Joined
Sep 4, 2010
Messages
168
Got rid of my Aprevia exhaust fan. I replaced it with a 140mm Xigmatek. The dual 60mm fans are now connected to a PCI bracket fan controller to silence them. I added Rubber mounts to the 60mm fans to make access to the pci brackets easier.
 

Attachments

  • E7.jpg
    E7.jpg
    58.7 KB · Views: 783

Astaroth

Well-known member
Joined
Sep 4, 2010
Messages
168
Added another 4870. Enjoying Crossfire. Not visible, but I replaced the front Aprevia 120mm fans with some Coolermaster R4s. Now to find time to do a tear down and install the new heatsink :biggrin:
 

Attachments

  • E8.jpg
    E8.jpg
    100.8 KB · Views: 732

0o0

Banned
Joined
Oct 12, 2009
Messages
851
Location
Toronto ON
Nice work. To answer your question, my m4a79t deluxe had pushpins on the bottom, just 'push' them out and the HS assembly pops off, very simple though I don't know how comfortable you are with that kinda stuff. Consider flipping your tx750 around and stuffing it all in the back of the mobo tray, it'll look much better :)
 

Astaroth

Well-known member
Joined
Sep 4, 2010
Messages
168
I'm comfortable enough to consider doing it myself. I actually found a writeup on how to do it. Appreciate the response though, and the PSU suggestions.

When I say there isn't much room back behind that mobo tray for the PSU spaghetti I mean it. But I'll try getting creative during the rebuild. I got some Shin-Etsu to replace the factory Mobo heatsink gunk. Same compound that comes preapplied to the H50 and H70. Real good stuff.
 
Top