What's new
  • Please do not post any links until you have 3 posts as they will automatically be rejected to prevent SPAM. Many words are also blocked due to being used in SPAM Messages. Thanks!

Completed lowfat's Big Lian Li.

Ballistix

Active member
Joined
Jun 12, 2013
Messages
25
Location
Surrey B.C.
Wow! quite the work of art, I always wanted to be able to do this pain staking work but never have any time. Hats off to you sir and keep it up! :thumb:
 

lowfat

Moderator
Staff member
Joined
Feb 12, 2007
Messages
12,849
Location
Grande Prairie, AB
Thanks. Some of the work is starting to get tedious. Not much work left but most of it is boring and seems to require a lot of dismantling. Lat few days I have been working on fan/pump cables, filing down standoffs, mounting pump, etc.


Macros of some brass filings.


Mounting the pump.


Pic from the other side of the radiator to show how it is setup.


Got bored and heatshrinked my entire screw driver.
 

lowfat

Moderator
Staff member
Joined
Feb 12, 2007
Messages
12,849
Location
Grande Prairie, AB
Continued working on cable management.


Finished off the power / reset, fan controller, and temp sensor.


Dyed my radiator fans.


Finished sleeving the top rad fans. Then reinstalled the system back in the case.


Was able to power on the system last night. Had a few issues at first but after resolving them she works great.
 

lowfat

Moderator
Staff member
Joined
Feb 12, 2007
Messages
12,849
Location
Grande Prairie, AB
How to polish acrylic waterblock tops.

It doesn't matter if you are polishing a frosted block or an already clear block the instructions are the same. The clear blocks will still have machine marks that need to be removed. I'll be using an EK CSQ D5 top that is frosted stock.


In this pic you see the machine marks that we need to get rid of. They are on the inside of the block only. They must be removed to have glass like clarity at the polishing stage.


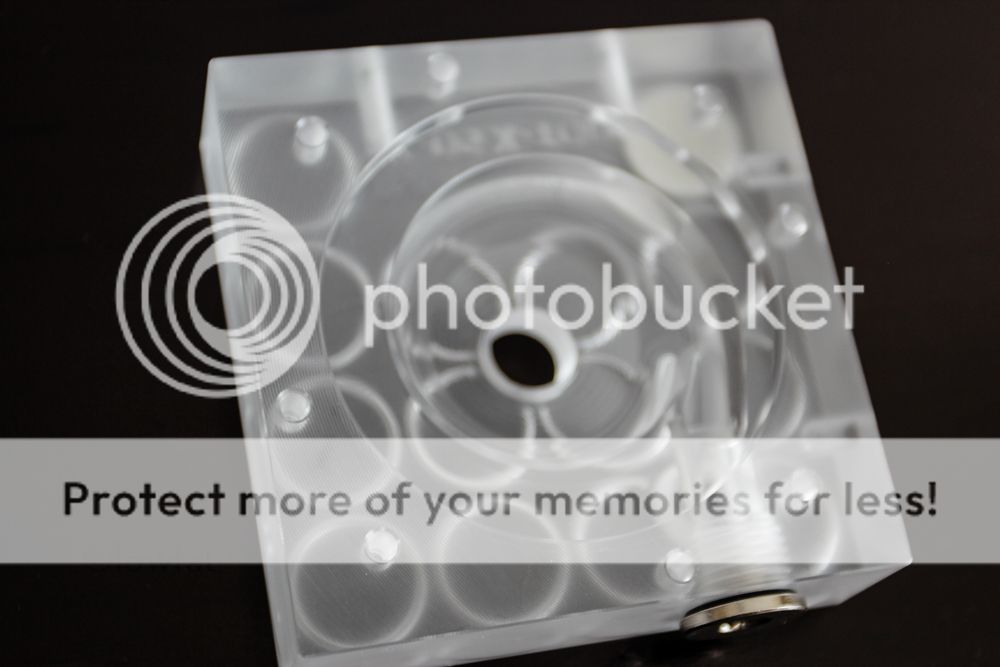
First you use a heat gun on the EK badge. Get it nice and hot but don't melt the acrylic :p. If you are not going to reinstall the EK badge you will need to sand the recessed circle at each stage.


Start w/ 400g on the bottom of the block. Use a piece of glass to make sure you are sanding flat when you are doing the bottom. You don't want an uneven sand job and possibly get a leak. For the flat part of the bottom you will want to sand in two different directions. You don't need a lot of 400g. You will also need to use 400g on the inside machined areas where the coolant flows.


Then move up to 800g. You can do the tops and side w/ this grit as well. Not too much pressure on the top though as you want to maintain the circles and print. By the end of 800g all tool marks should be gone. Once again sand in the coolant channels. Make sure to get the edges.


Move up to 1000g. Do the entire block just like above.


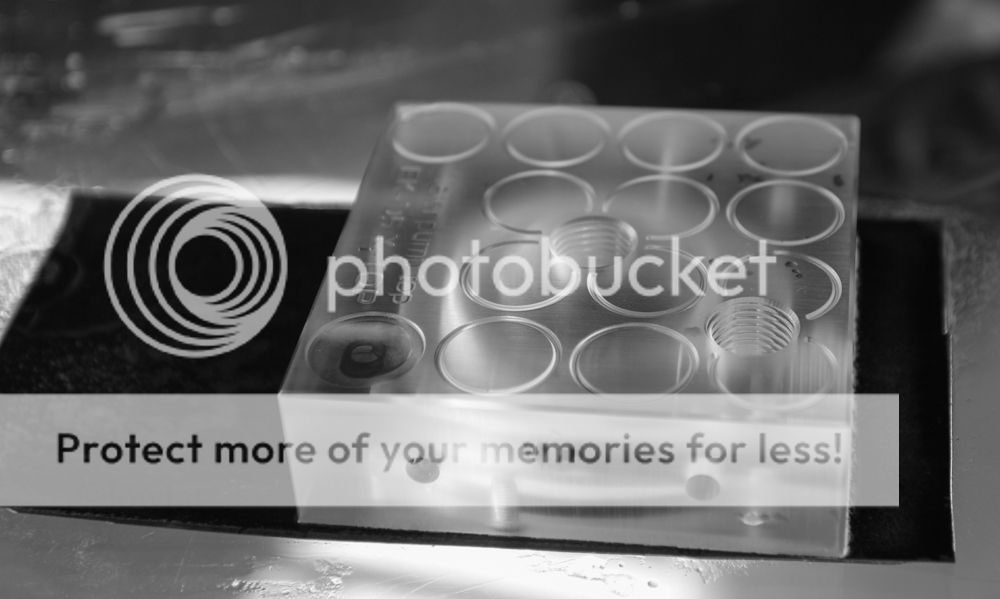
Rinse and repeat w/ 1500g (if possible) and 2000g. Should look similar to this at the end of 2000g.


Now the polish. Use a good acrylic / plastic polish. Not a metal polish. It will cut polishing time by 10x. I use Meguiar's PlastX. You'll need some good polishing cloths too. Old t-shirts work.


Now go to town on the polishing. Use a liberal amount. First polish w/ a wet part of the clock (wet from polish). Then move to a clean part and polish dry. To clean in the threaded parts add polish to the threads and corkscrew in a cloth.
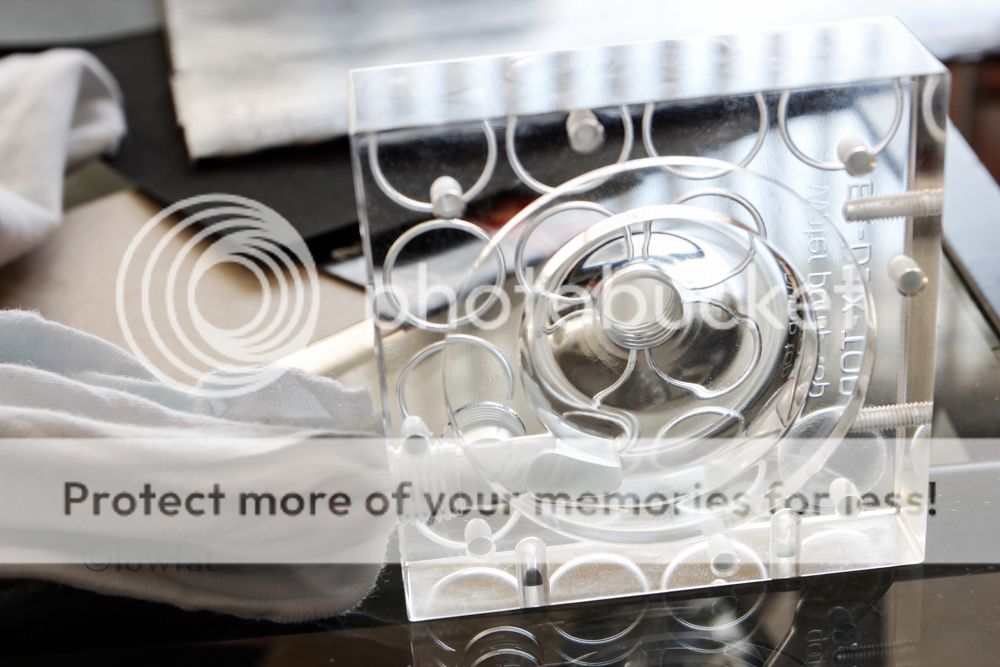

Finished product.


akira749

Well-known member
Joined
Jul 4, 2012
Messages
519
Location
Donnacona, QC
Crazy!!! One question I always ask myself each time I did my polishing process. How long do you wait between the polish cream application and the "wet polishing"?
 

lowfat

Moderator
Staff member
Joined
Feb 12, 2007
Messages
12,849
Location
Grande Prairie, AB
Even after doing so many blocks I have still find ways to improve it seems. I spend another two hours polishing the same top tonight. No sanding, just polishing. What I suggest doing now is after you apply the polish, keep polishing until the haze has completely disappeared. Then move to a dry piece of cloth and continue polishing it. Now the following pics are from before I started re-polishing it again this evening. It is a substantial improvement over what is shown.


Latest posts

Top