Modifying a 120mm Gentle Typhoon to fit 140mm radiators.
Equipment required:
- Gentle Typhoon
- Bitspower / Bgears 120 to 140mm fan adapter
- painters tape
- hacksaw
- glue
- clamps
- heatgun
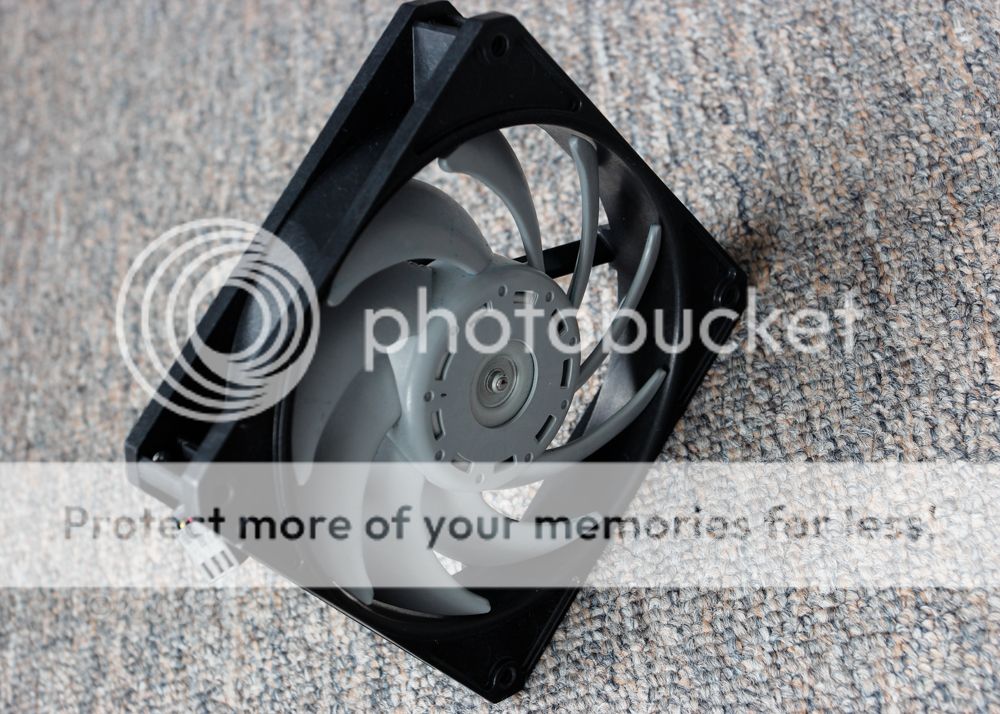
1.Take a stock GT.
2.Heat up the hub of the fan. Use high heat and a lot of it all over to loosen the glue.
3. Pull blades off of GT. Takes a bit of force. Easier if the hub was nice and hot.
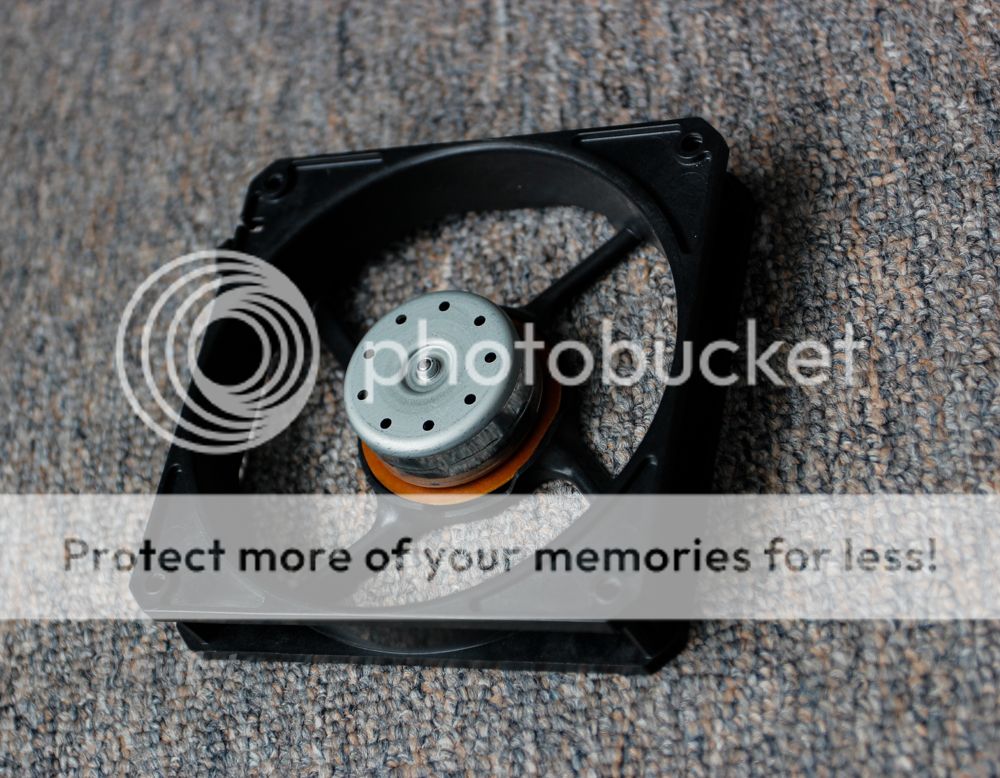
4. Cover up the fan motor w/ some painting tape to prevent all the plastic crap from getting inside. Then take a hacksaw to the side of the fan. Do all 4 sides until the two pieces come apart.
5. You'll need to cut a hole for the fan cable to passthrough the 140mm adapter. I screwed the fan together w/ a nut so I made sure to cut the whole at the right spot.
6. Glue the two pieces together. Put the glue around the screw holes on the fan body. Then clamp it together. I used glue instead of screws due to clearance issues.
I am not sure if there is a drop in performance or not but I was still getting sufficient air through the radiator afterward.
And a few pics of fan before I moved to glue.
Comparing the new modded GT to the original + adapter.