What's new
  • Please do not post any links until you have 3 posts as they will automatically be rejected to prevent SPAM. Many words are also blocked due to being used in SPAM Messages. Thanks!

Completed lowfat's Big Lian Li.

lowfat

Moderator
Staff member
Joined
Feb 12, 2007
Messages
12,850
Location
Grande Prairie, AB
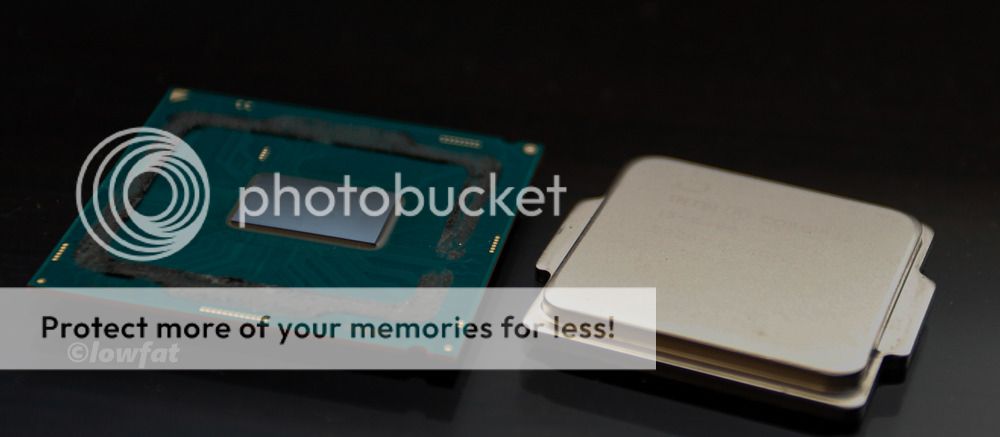
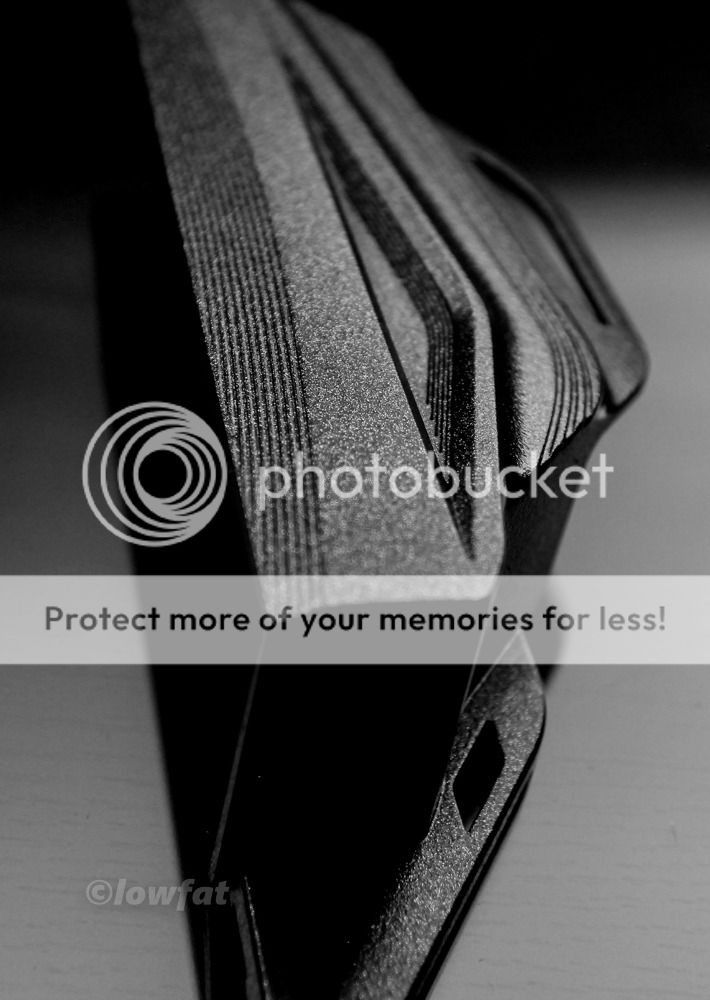
Yup that thing is for 'assisting' w/ removing the IHS off the CPU. I think it is a POS and not sure it will actually work. It is seriously flimsy. It needs to be made out of Delrin or a similar harder material.

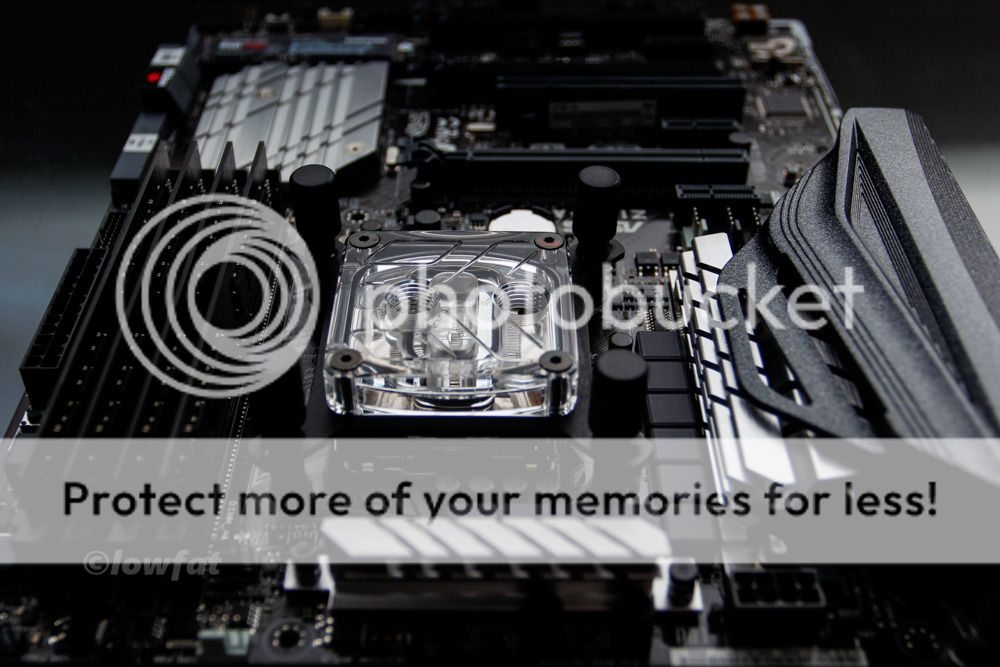
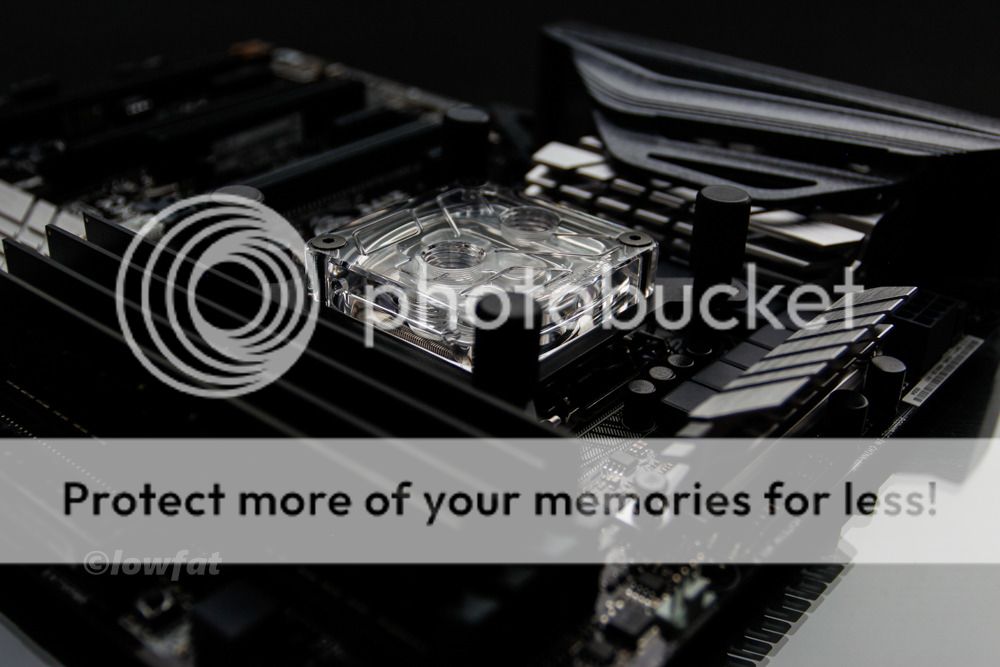
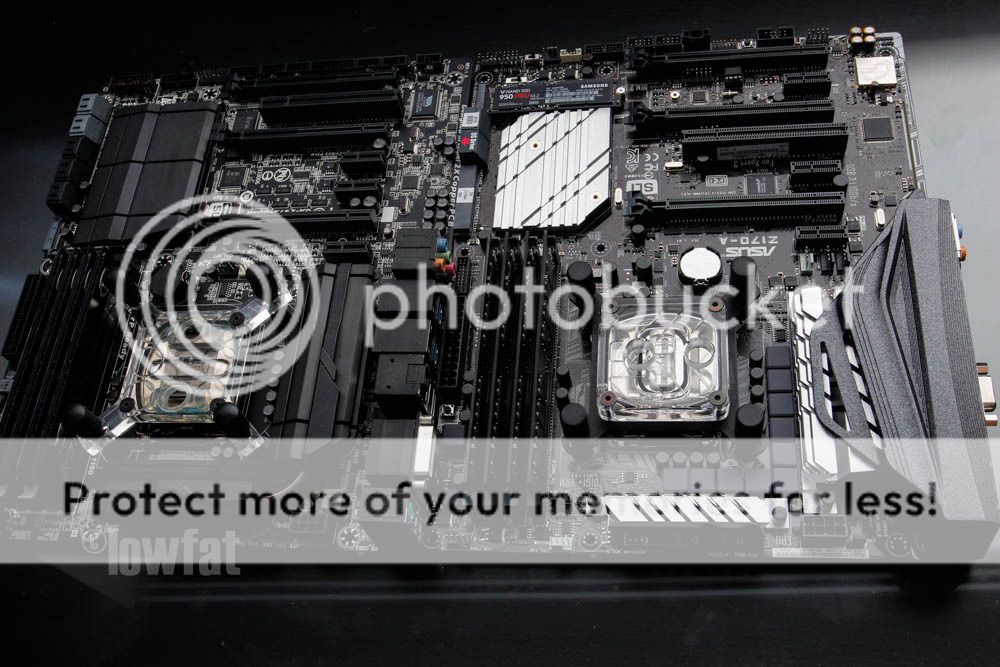
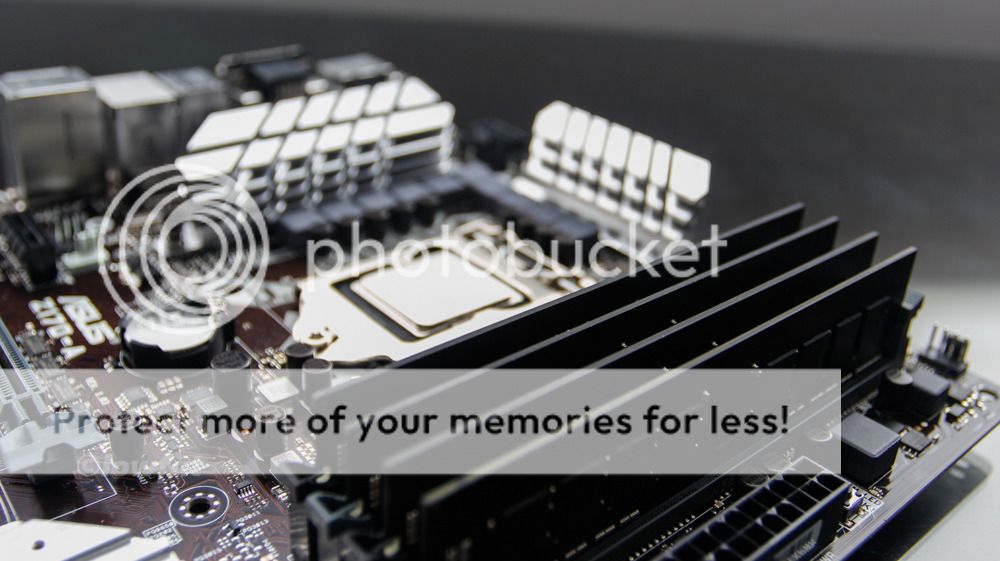
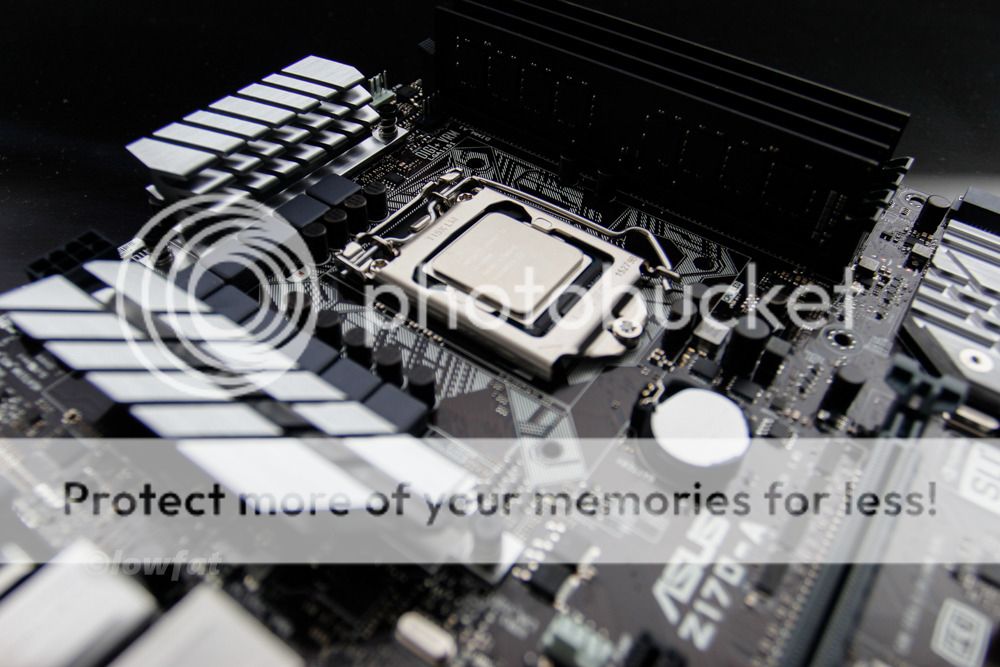
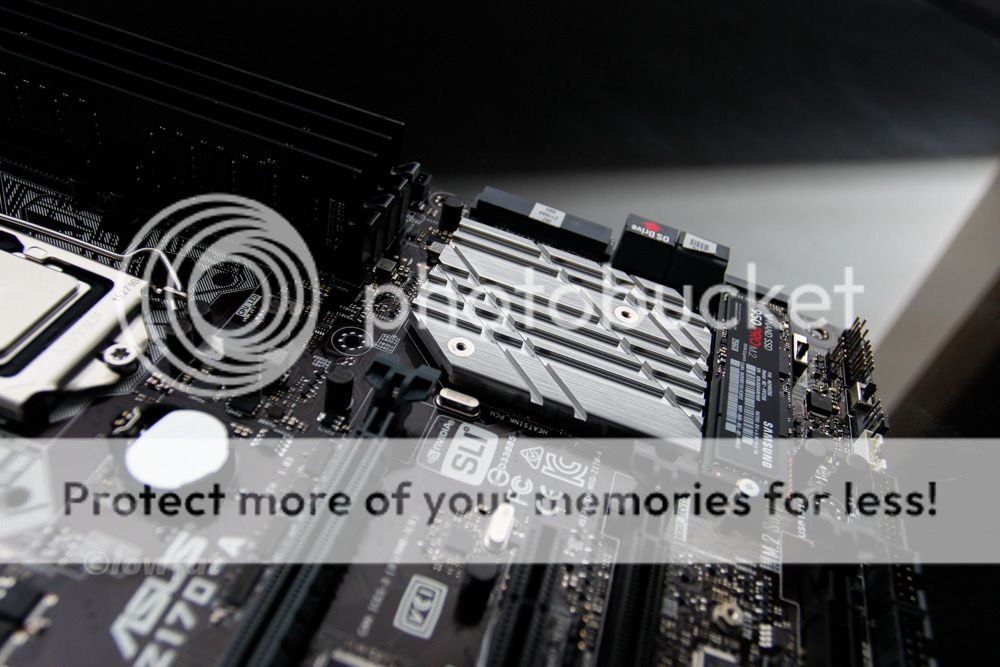
A couple of pics of the naked board.
export-38_1.jpg


export-34_2.jpg


export-42_1.jpg


Dipped the IO cover. Flat black base coat w/ single coat of a metallic pearl I mixed up. Looks fantastic. Sun was already down when I took the pic so better pics will have to wait till tomorrow. :(

export-40_1.jpg


export-41_1.jpg
 

lowfat

Moderator
Staff member
Joined
Feb 12, 2007
Messages
12,850
Location
Grande Prairie, AB
Delidded the CPU w/ the vice method as the tool I printed didn't work.

export-2_1.jpg


export-9_2.jpg


export-8_3.jpg


Polished up a Supreme HF as I'll be using instead of the LTX.
export-13_2.jpg


export-12_3.jpg
 

lowfat

Moderator
Staff member
Joined
Feb 12, 2007
Messages
12,850
Location
Grande Prairie, AB
EK has the naked hold down set, believe Daz still has some.
I do believe it is meant for Haswell though. The substate on much thinner on Skylake so it won't hold the CPU in place.
colours look nice on the sheild

Thanks. I am using a Wagner Spray Control Double Duty HVLP sprayer, Plasti-Dip flat black base, DipYourCar clear w/ aluminum, graphite, and charcoal pearls mixed in.


So last night either my SSD or my SATA cable died. Either of which requires me to pull the motherboard :doh:. So I am pulling the rig apart a few days early I guess.

Old w/ the new.
export-1-5_1.jpg


Nickel on the LTX is stained rather heavily. This is the last I'll definitely ever be using dye.
export-1-3_1.jpg


Just a random pic of the new ram. I must say it looks super clean w/ the sinks off.
export-1-2_1.jpg


Decided I needed to take some better pics of the Supreme HF showing its detail. These may be my favourite hardware shots I've yet to take.
export-1-8_1.jpg


export-1-7_1.jpg


export-1-6.jpg
 

lowfat

Moderator
Staff member
Joined
Feb 12, 2007
Messages
12,850
Location
Grande Prairie, AB
Pulled apart the Thermosphere. Looking rather nasty.
export-1-10_1.jpg


After polishing.
export-1-14_1.jpg


export-1-12_1.jpg


export-1-13_1.jpg


export-1-15_1.jpg


Taking the the pump out to clean and polish was a ridiculous amount of work. Had to disassemble pretty much the entire case. Had to remove all the radiators, the case roof, remove 10 rivets, remove false floor, power supply, depin both pump cables, then finally was able to access the area to remove the pump. :(

Spent a lot of yesterday on the pump. Started by polishing up the pump motor. Can't have no dull metal in my rig. :p
export-1-16_1.jpg


Then on to the pump top. This was the CSQ top however CSQ wasn't in my theme no more so I hit the sandpaper hard. 5 sheets of 40 grit, 2 sheets of 60g, then one sheet each of 100, 150, 220, 400, 600, 800, 1000, 2000, then finished w/ 3000g. Then machine/hand polished w/ PlastX. Then machine/hand polished w/ Carpro Reflect. Then 1 coat of Carpro Cquartz. Then 2 coats of Carpro Reload. :p

This is how much material was taking off the pump top. To give scale, that is about 5 inches across.
export-1-23_1.jpg


Macro.
export-1-24_1.jpg


The top in all its polished glory.
export-1-17_1.jpg


export-1-18_1.jpg


export-1-19_1.jpg


export-1-20_1.jpg


And a couple of group photos. :p

export-1-22_1.jpg


export-1-21_1.jpg
 
Top