What's new
  • Please do not post any links until you have 3 posts as they will automatically be rejected to prevent SPAM. Many words are also blocked due to being used in SPAM Messages. Thanks!

Completed MiniITX on Water [Q08+PA160]

Fudd Rucker

Well-known member
Joined
Jul 7, 2009
Messages
1,074
Location
SSM Ont
Seeing this is pushing me oh so much closer to setting up a Mini-itx system as its been my dream since the late 80s to have a powerhouse pc in a little itty bitty package. But ive invested way to much to drop down lol.
 

zoob

Well-known member
Joined
Aug 21, 2007
Messages
1,805
Location
Toronto, ON
More test fit:
- 5850 definitely won't fit, even if I stick with a 140mm fan. It's simply too long
- GTX 460 at 8.5" would be my best bet at the moment
- I will probably have to go with a T-line and the stock DDC top if I can't find a suitable replacement like the original Alphacool, or the new Phobya top

I really hope I can de-couple the pump so it does not transmit vibrations through the case. Also need to find some nice foam insulation for the rad-case mating surface. Also need to figure out how to hold it in place - maybe a nice strip of industrial velcro (might ruin the rad finish, but who cares if it's on the bottom where it can't be seen :)

Pump will sit on a nice soft sponge, don't know how to mount, maybe also velcro!

q08-layout-1.jpg

q08-layout-2.jpg

q08-layout-3.jpg

q08-layout-5.jpg

q08-layout-7.jpg
 
Last edited:

zoob

Well-known member
Joined
Aug 21, 2007
Messages
1,805
Location
Toronto, ON
Some minor updates. Finally have some guts (now that P67 boards are delayed :doh:)

So I received my 860 from 3oh6 today, and as I tighten down my Megahalems heatsink so I can give the CPU a test on air (and on a better motherboard), the frigging bracket breaks!
megahalembracket.jpg


Pisser, so I have to resort to some fancy stock cooling to test this thing out.
q08-guts-3.jpg


Superb motherboard of choice.
q08-guts-5.jpg


Coming together with some budget 2x4 GB RAM and a 5770...
q08-guts-4.jpg


Hard core budget shot!
q08-guts-1.jpg


Temporary home
q08-guts-2.jpg


Goals of this machine:
1. Run OSX
2. Run very quietly
3. Run overclocked

:canadianwave:
 

ADay2Long

Well-known member
Joined
May 14, 2009
Messages
586
Location
Ottawa
Mini-ITX love :thumb:

OCing the 860 on that board? :shok: Might want to read on it, careful, I don't think that CPU and that board play nice once OCed. You should also want to add some third party heatsinks on there to keep it nice and cool.

Coming along nicely though! :biggrin:

Quiet...hmm, I need to find a quieter pump, it's the only thing I hear in my little machine.
 

zoob

Well-known member
Joined
Aug 21, 2007
Messages
1,805
Location
Toronto, ON
Hoping to hit at least 3.6 on it. I'm not expecting to reach sky high, but the chip is supposed to only need 1.3V for 4GHz. Hoping it won't hit OCP too soon. Bottom line is, even a stock 860 is pretty fast in Aperture :)

Don't worry about the cooling, I have some tiny Enzotech heatsinks to stick on!

Planning on setting up the initial CPU only loop tonight if I can jimmy it all together. Fingers crossed for a smooth install (which probably will never happen) hahaha.
 

zoob

Well-known member
Joined
Aug 21, 2007
Messages
1,805
Location
Toronto, ON
Yep just as you guys predicted, I'm ramming into a brick wall bc I chose a 4C/8T CPU :censored:

i7 860 running 22x167 @ 1.250V no LLC seems OK... but it overvolts even though LLC is off!
It sometimes also gets stuck in a weird uncore/multiplier unstable state requiring a cold boot after a failed OC.

3.6 GHz is not bad of an OC so I think I'll stick with that!

Plenty of pics to follow as soon as I eat dinner, clean up, and let this stress test a bit longer before I boot into OSX for Aperture :)
 

zoob

Well-known member
Joined
Aug 21, 2007
Messages
1,805
Location
Toronto, ON
Here goes on the backplate for the Apogee XT. It clears the components on the back of the motherboard... no modding necessary!
Though I do flip the foam pads because I do not want them sticking to the motherboard.
q08-water-1.jpg

q08-water-2.jpg

q08-water-3.jpg


Sinking it up. I did fill in the rest of the PWM area FYI... I just took the pic before I opened the second box.
q08-water-4.jpg

q08-water-5.jpg


The motherboard sits into the standoffs - it catches a little bit because the standoffs go into the motherboard mounting holes slightly. Very nifty.
q08-water-6.jpg

q08-water-7.jpg


Mount the drives and cover up my crappy cuts with 3.0charlie's awesome trim! Thank you John!
q08-water-8.jpg

q08-water-9.jpg
 

zoob

Well-known member
Joined
Aug 21, 2007
Messages
1,805
Location
Toronto, ON
Devising a cheap and non-permanent way to mount the radiator - just in case I decide to move back to air.
q08-water-10.jpg

q08-water-11.jpg


Stealthed drive (sorry for blurry)
q08-water-12.jpg

q08-water-13.jpg


Tight fitment, the trim helps keep the barb from knocking up against the metal.
q08-water-14.jpg


Very tight fit with the fan
q08-water-15.jpg


Getting a feel for the space... man it's going to be tight.
q08-water-16.jpg

q08-water-18.jpg


WTF to do with the pump???
q08-water-17.jpg
 

zoob

Well-known member
Joined
Aug 21, 2007
Messages
1,805
Location
Toronto, ON
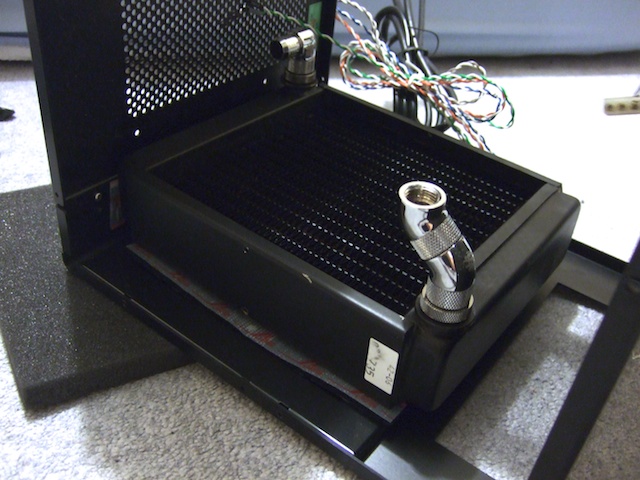
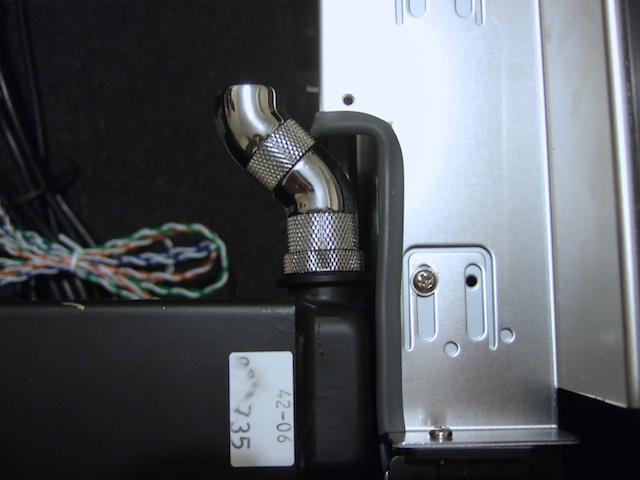
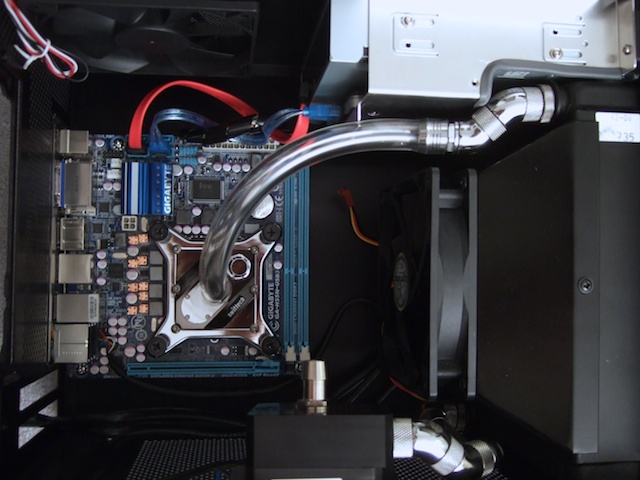
Too much money for bitspower fittings :( But I'm glad I purchased them!
q08-water-20.jpg

q08-water-21.jpg


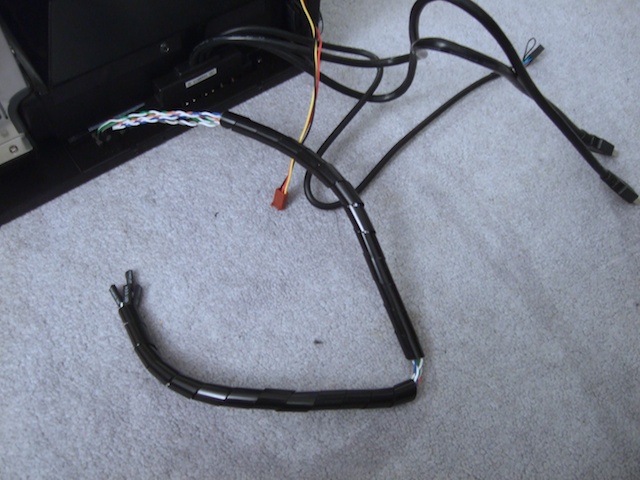
Cheap sleeving. Free from my LCD monitors!
q08-water-22.jpg


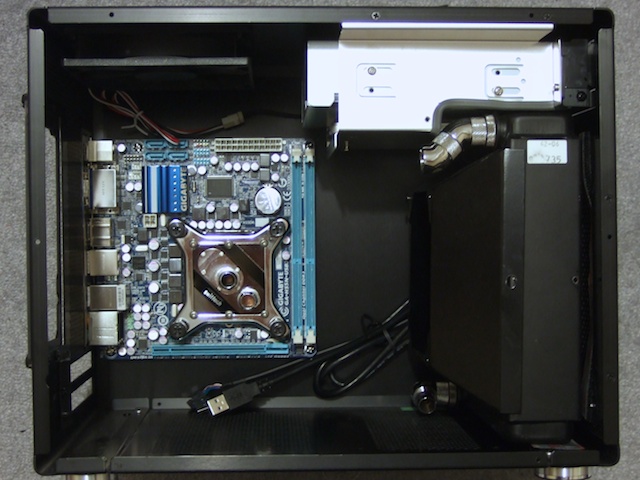
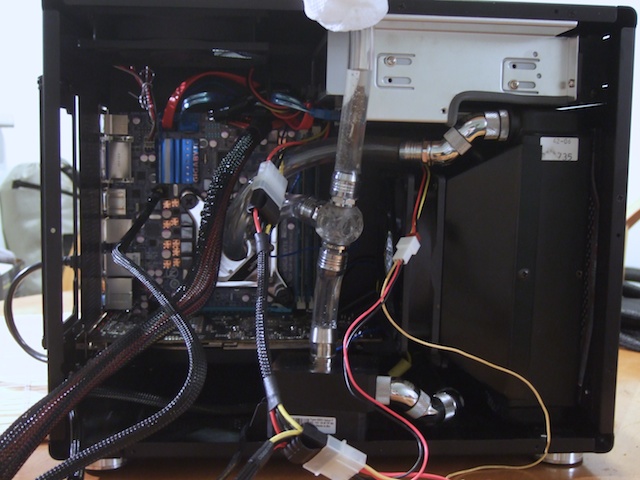
Some more tubing going in...
q08-water-23.jpg

q08-water-24.jpg


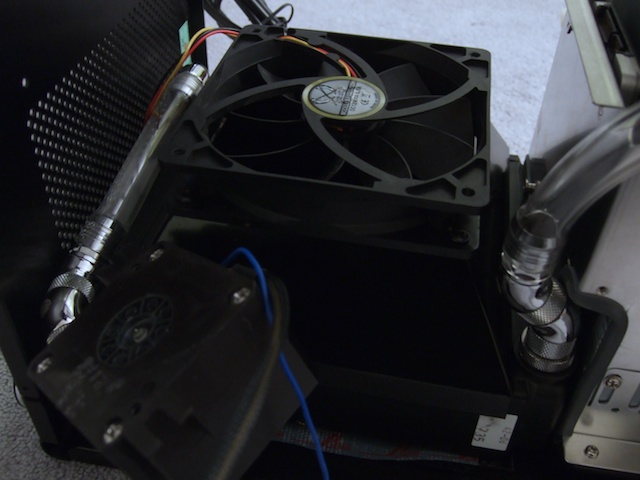
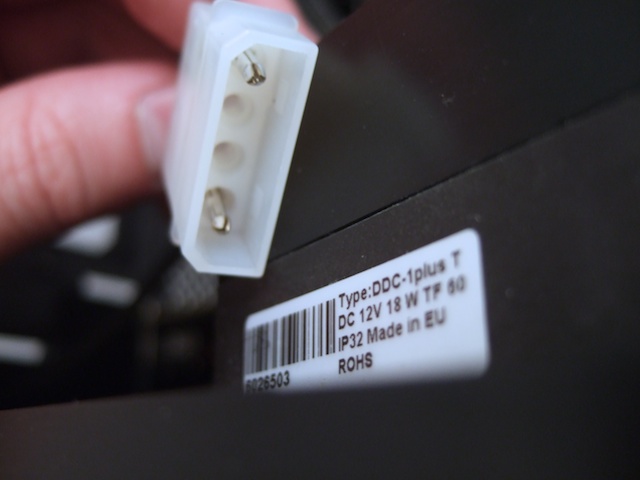
7V trick on my pump for silence (since it's one block one rad...)
q08-water-25.jpg


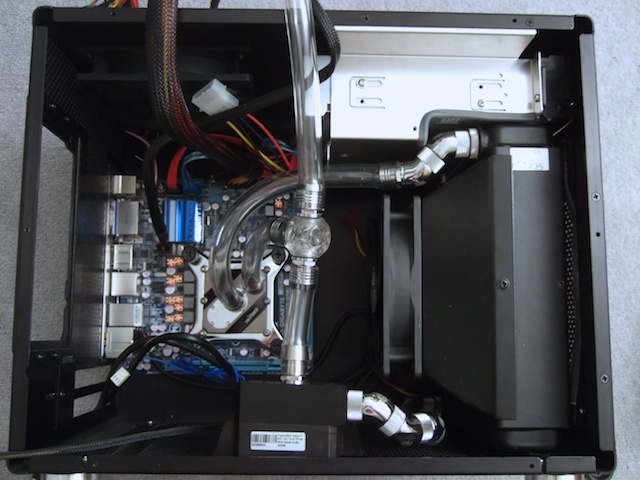
Filling! Also a quick 10 min leak test while I bleed the air.
q08-water-26.jpg


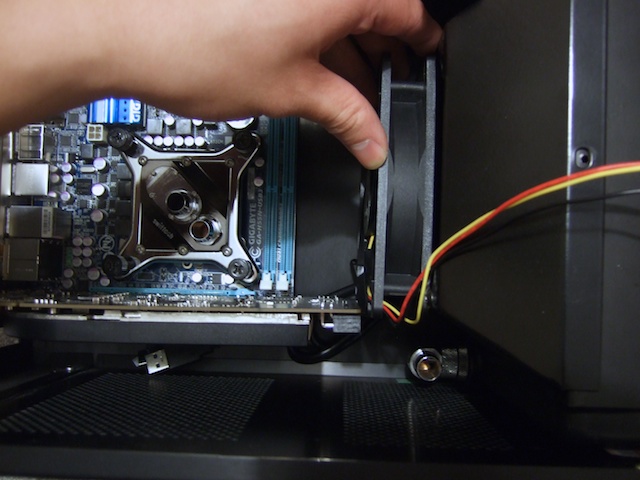
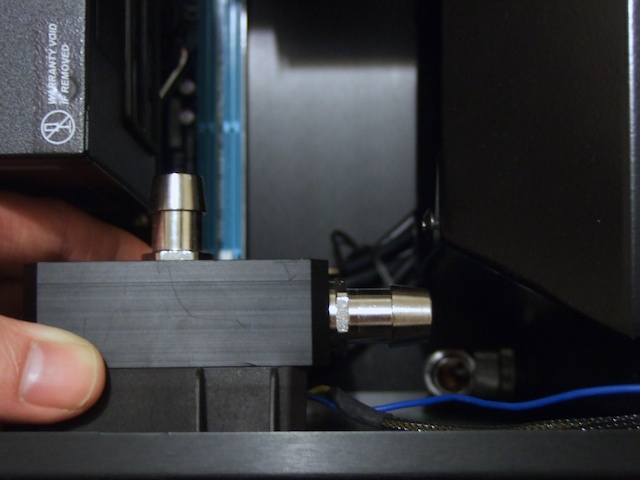
Two leaks. One at the BP crystal T... tighten it with pliers. Second was the FAR CORNER of the radiator. I have to pull out the vid card, and take off the side panel to get to it (barely enough slack on the tubing), and reach in with needlenose pliers to tighten it up.
q08-water-27.jpg


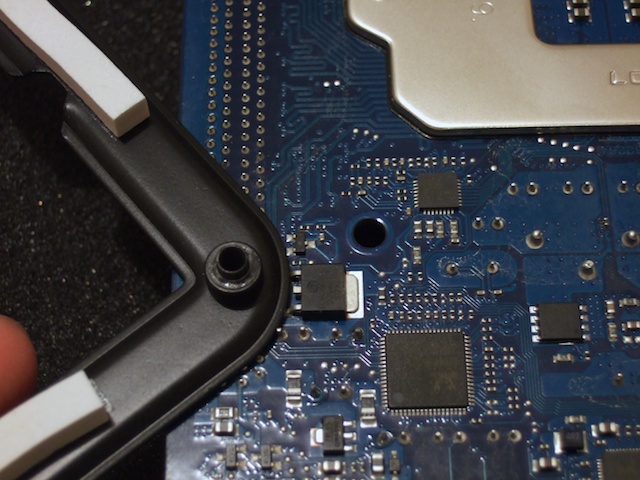
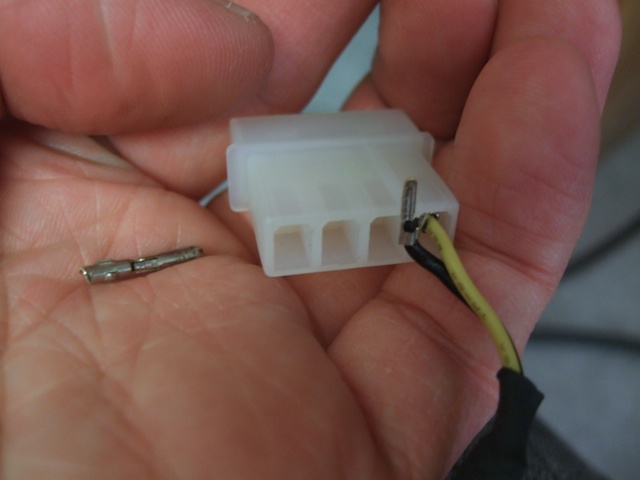
When leak testing/bleeding I ran the pump at 12V. Tested it out, but decided to reduce it back down to 7V for noise and to compare temps... but the stupid pin broke!
q08-water-29.jpg


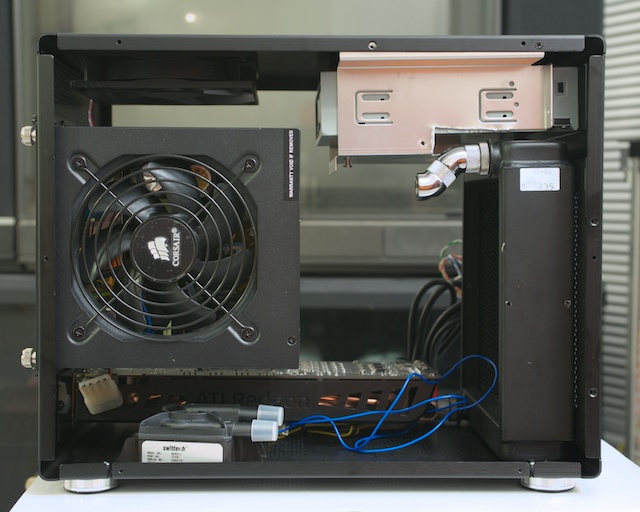
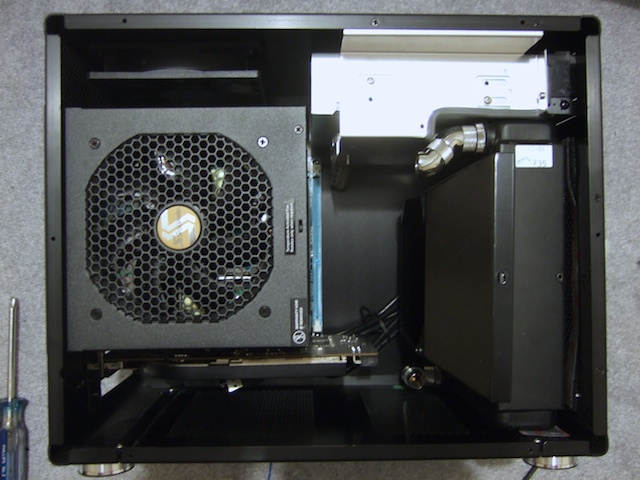
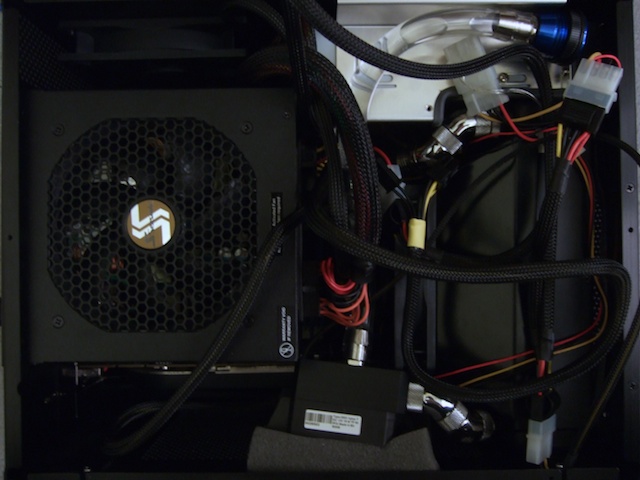
Quick solder job later, and BAM, stupid messy cram packed build:
q08-water-28.jpg
 

Latest posts

Top