Luciel
Well-known member
Project: APASF ("A Post-Apocalyptic Steampunk Future") (Final Pictures 29-03-2013)
Hello everyone.
This is my new "Main" project, after two small projects, one for a client and the other one being the tutorial project, this being the first main project since Fallout Cause SP back in December 2011.
I´ve had this idea in my head for years now, and you could say all of my projects in the last year and a half have simply been "tests" for techniques, both paint and structural modification in order to get ready for this one.
The concept is as far as I know something that has never been done before. Mixing the post-apocalyptic style with the steampunk style in a small slimline case (the same model in fact as I used for the fallout cause sp project). The reason for this is that it gives me a compact canvas to concentrate details and because the parts do not fit, they give me a modular look that I´ve always liked since I saw the original thermaltake Level 10 case (the first one, not the redesigned GT version).
This project is being sponsored by:


Some are new and some have been with me since the begining, either way I´d like to thank all of them for their support and amazing products!
I don´t normally list the hardware I will be using on my projects, but for the first time, this project will actually become my main PC so here are the basic details.
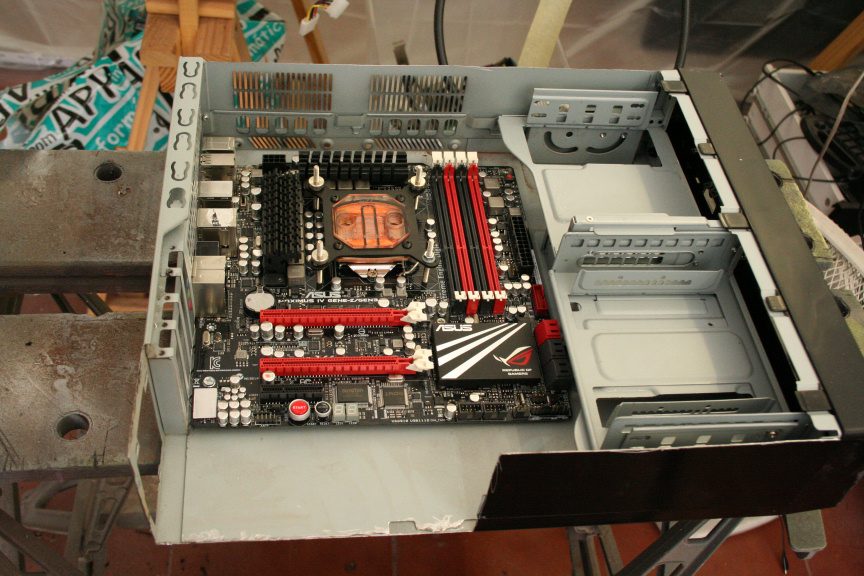
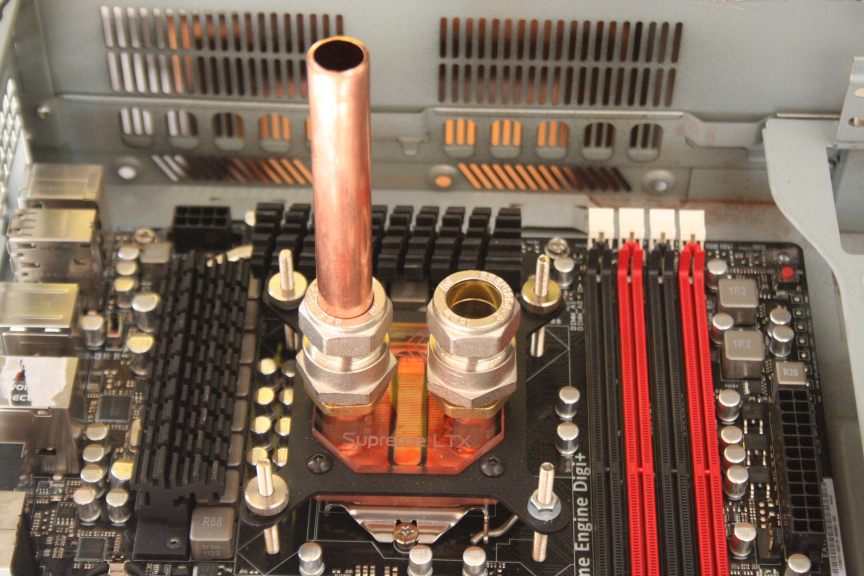
ASUS Maximus IV Gene-Z/GEN3
Intel i7 2700K
Kingston HyperX 16Gb DDR3 1866Mhz
2x Kingston HyperX SSD 240Gb in RAID
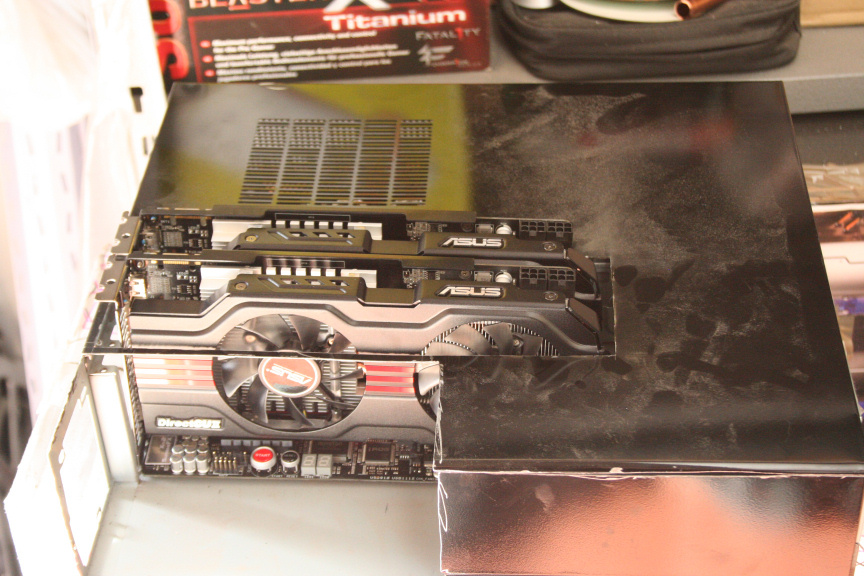
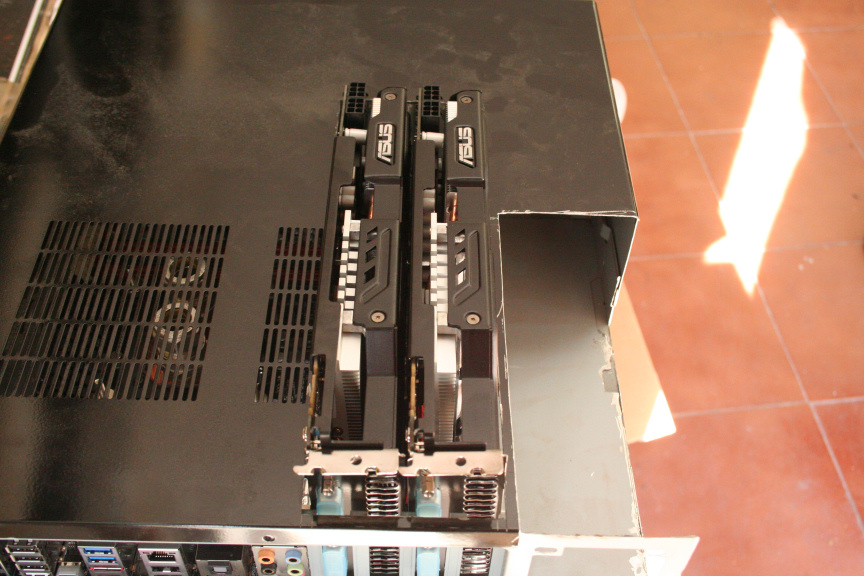
2x MSI GeForce GTX 560 Ti TwinFreeze OC 2Gb in SLI
NZXT HALE90-M-850w
B-Move Slim II Case
As for the rest of componentes, cooling and accesories, you´ll see them as they get mounted.
Let´s start then.
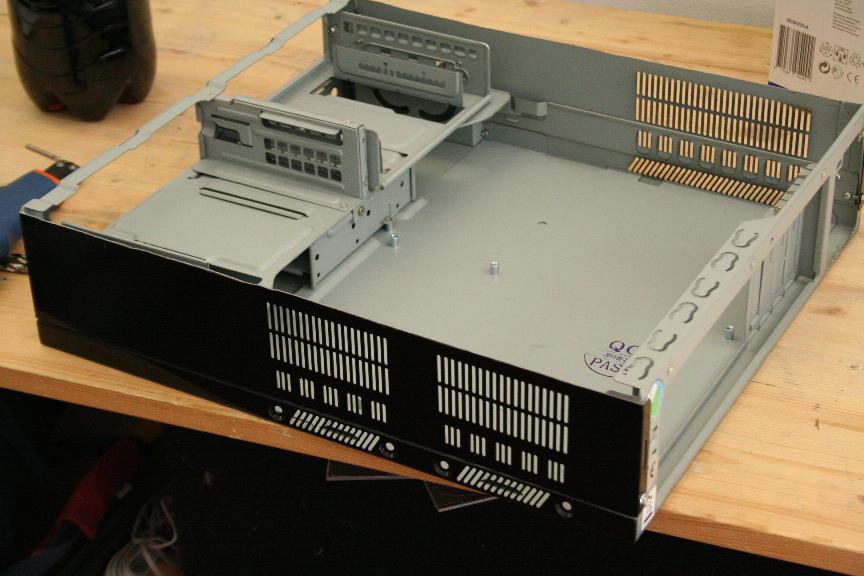
I´ve started with the structural modifications I need done on the case, the B-Move Slim II. I really like this case, it´s small, simple yet stylsh.


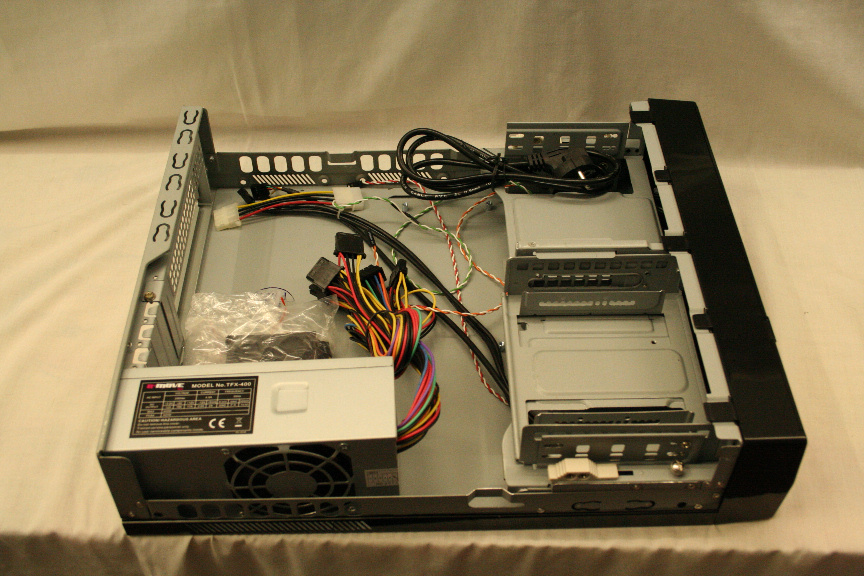
I´ve taken it all apart, I won´t be using any of the frontal conectors (except frontal USB & Audio) nor buttons or led.
For the design I have in mind to work, I need to cut the cover in parts, fit the upper and lower parts permanently to the case so the door is just the side, so here goes.
First part done:


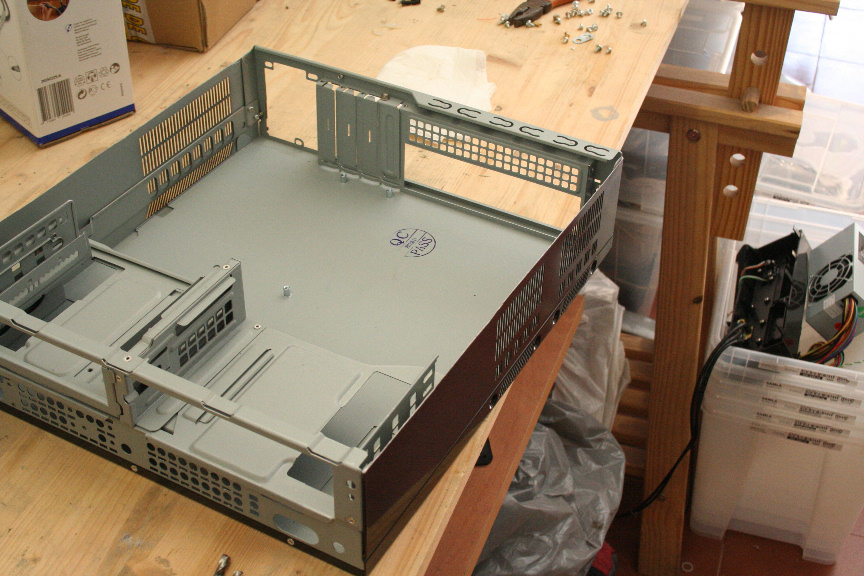
And the second:
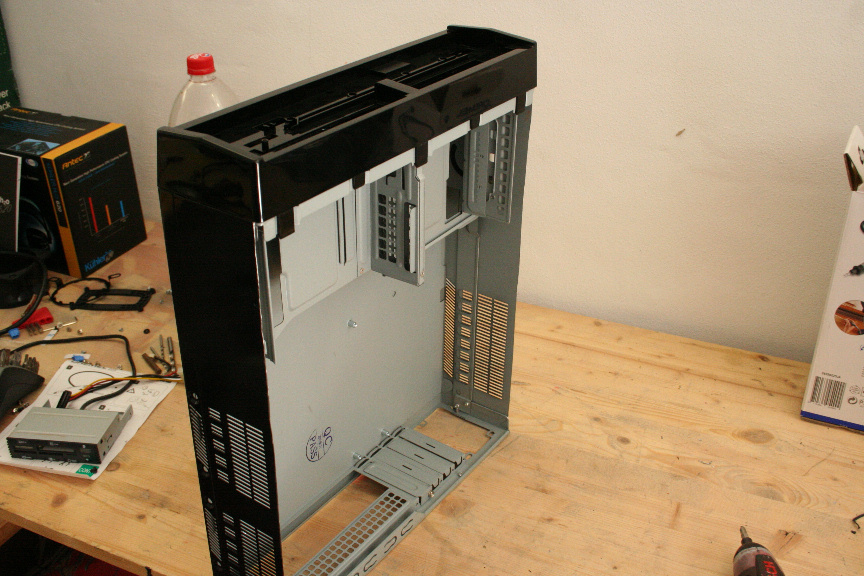
And now a test mount of the side panel:

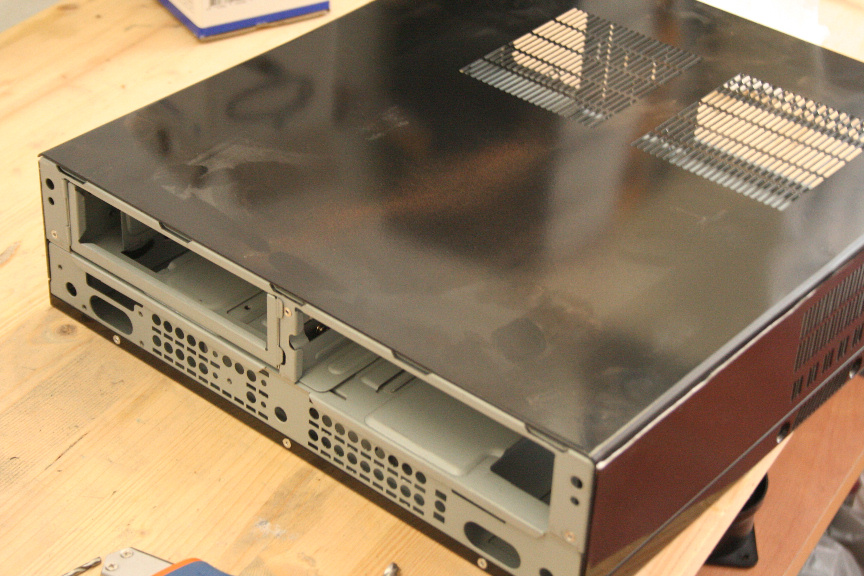
It all fits fine, mostly because they have grips underneath that grab the frontal side of the case. This way it doesn´t become flimsy or weak.
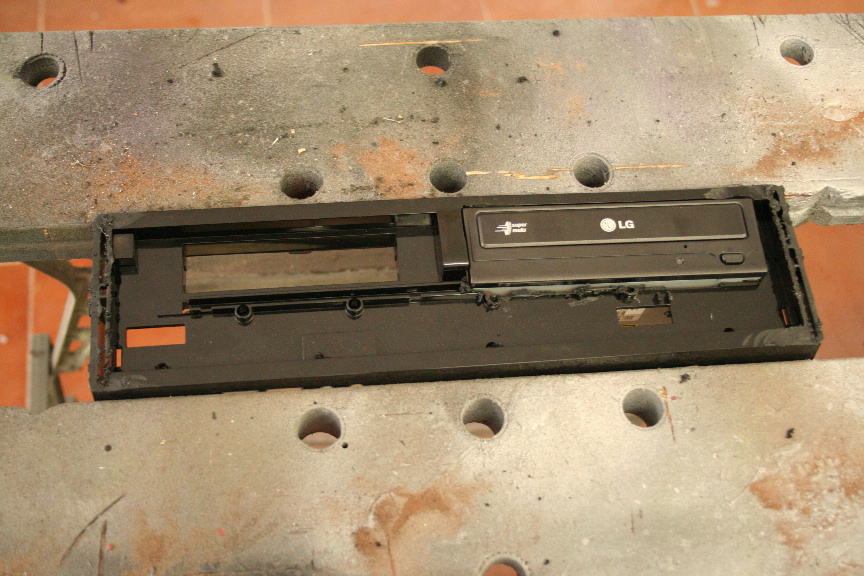
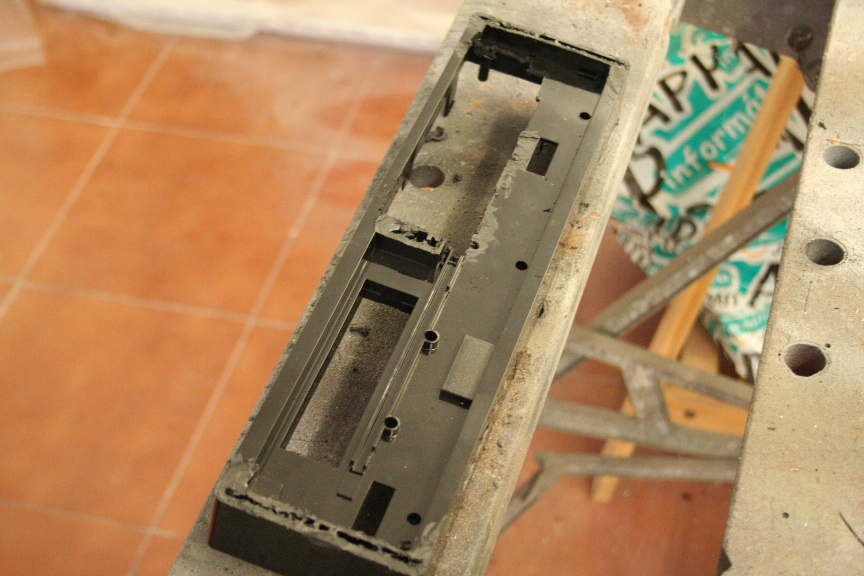
Now the frontal of the case. I´ve removed everything from it as it has to be cut down in order to be made completely square and straight (which will later be filled to suit my frontal design).

First, cutting the left side so that a drive sized device can fit through it (originally it´s designed not to as it has a trap door with a open close button). Second is cutting all the elevated parts in order to make everything perfectly staight and squared. It will later be sanded down, and filled up to make it a solid block.


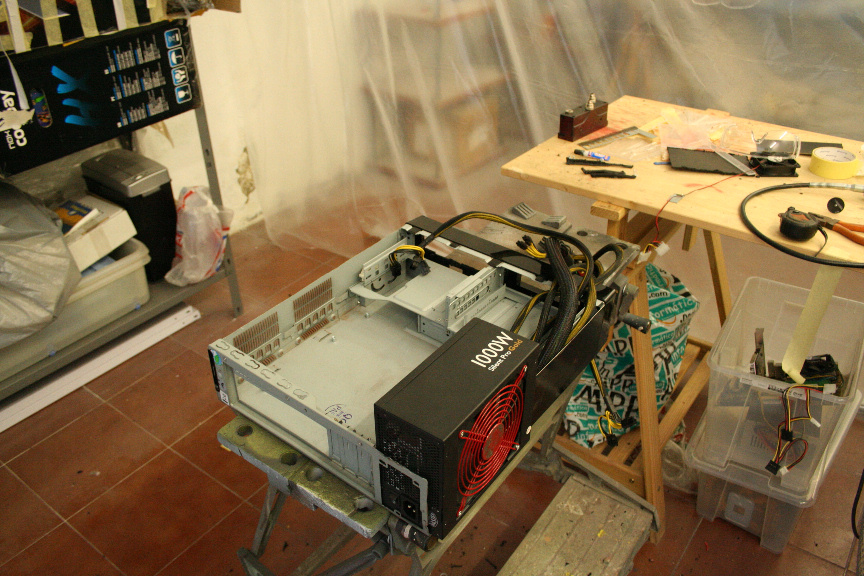
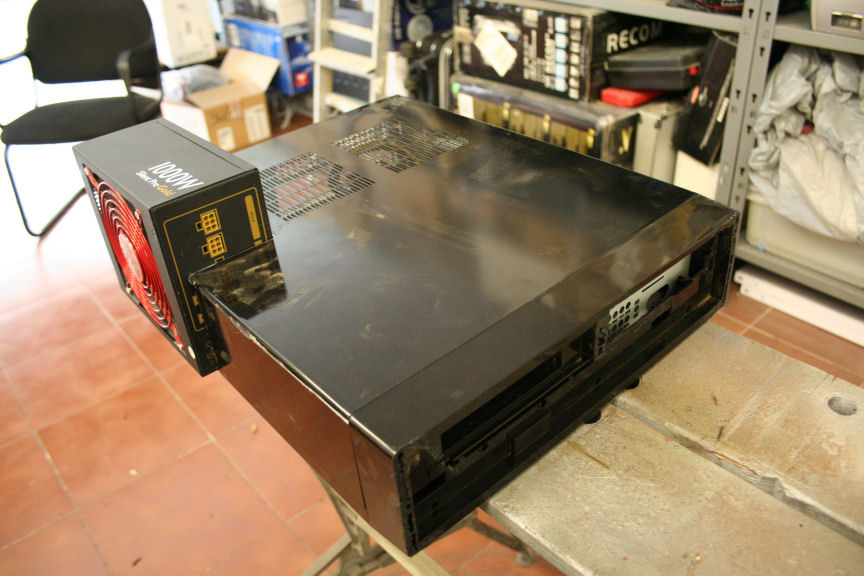
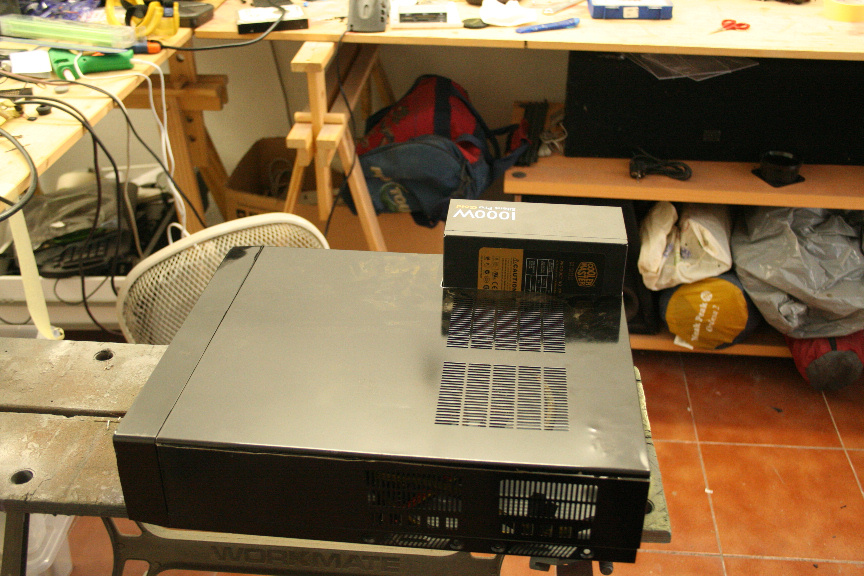
Now I´m going to be modifying the lower part of the case to suit the power suply, I´m using a used PSU for refference as it´s exactly the same size as the NZXT psu that will go in. In order to accomplish this I need to cut part of the lower section and modify the grip on it so I can still be fitted without the rear screw.


And done.

and the PSU fits nicely now.


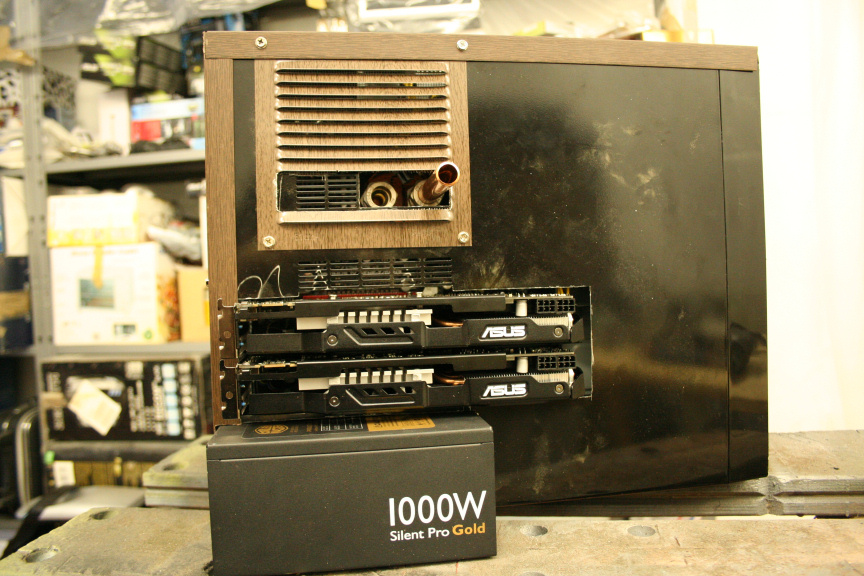
Now I´m going to start customizing the PSU.


I´m going to be using a wood "look" vinyl, mostly as a design base so I have the lines and typical look of wood to work on.

And now the first stage of it´s paintjob, which in this case is mostly a mixture of inks, and ageing effects. Here´s the first stage:

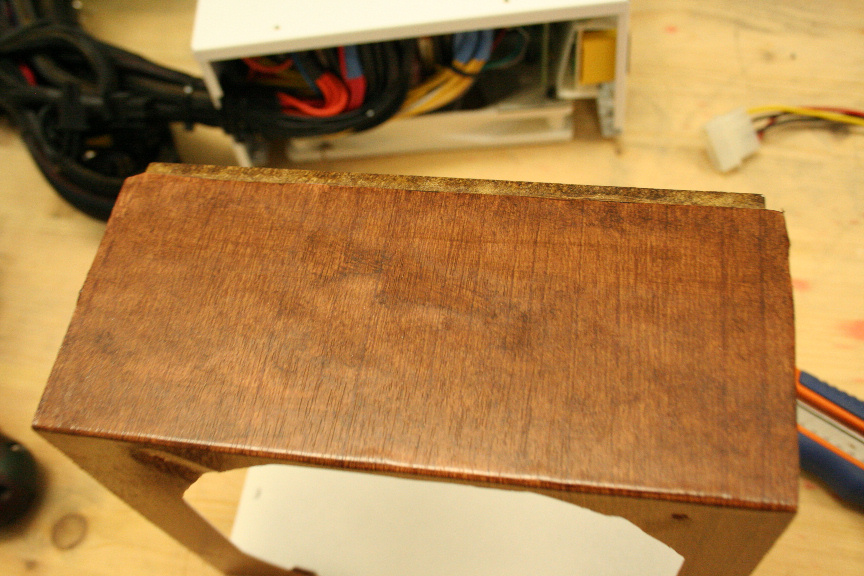
And the final stage:


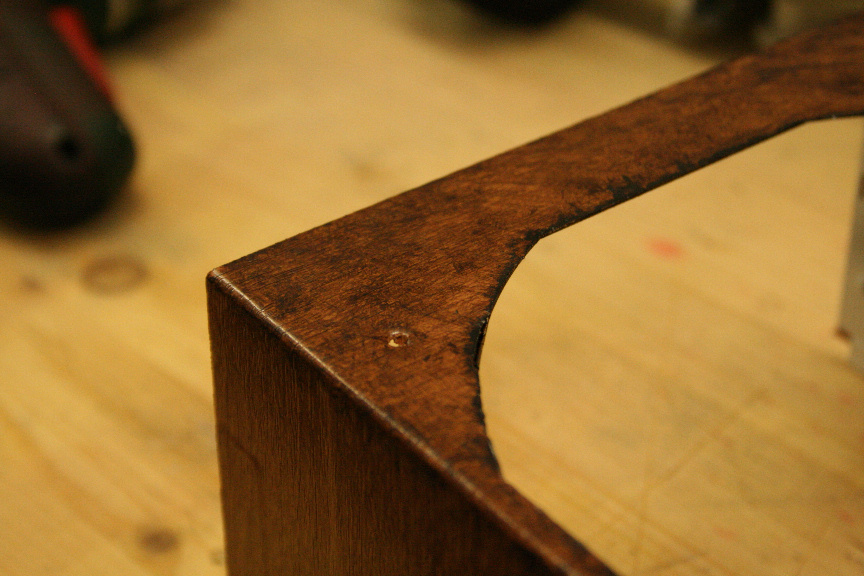
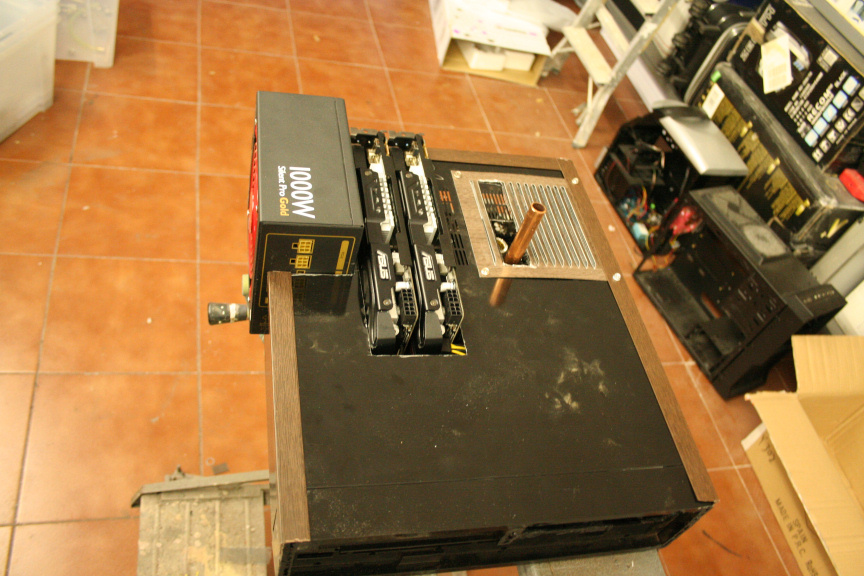
And the brass detail on the side that will be poping out of the case.
 .
.

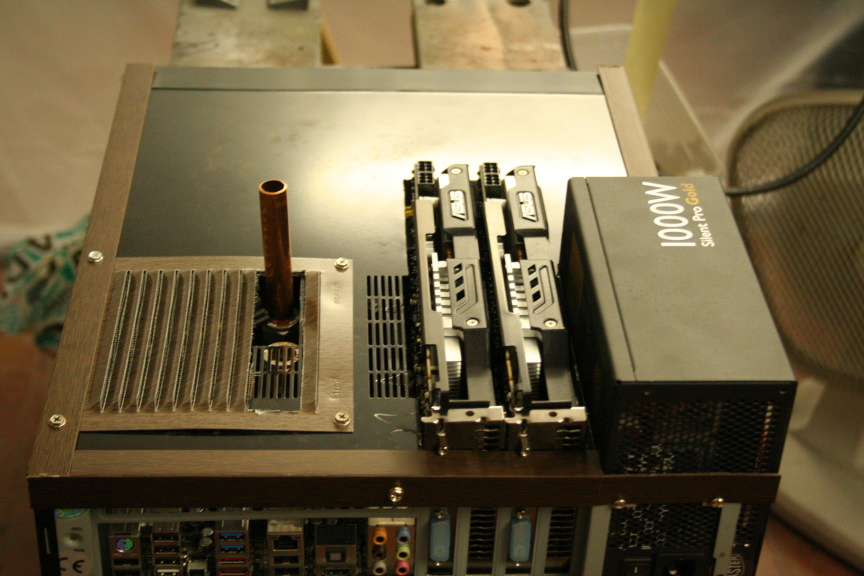
The camera flash shows what it actually looks like:


And finally a comparison shot between the standard vinyl and the "modified" one:

More to come soon!
Hello everyone.
This is my new "Main" project, after two small projects, one for a client and the other one being the tutorial project, this being the first main project since Fallout Cause SP back in December 2011.
I´ve had this idea in my head for years now, and you could say all of my projects in the last year and a half have simply been "tests" for techniques, both paint and structural modification in order to get ready for this one.
The concept is as far as I know something that has never been done before. Mixing the post-apocalyptic style with the steampunk style in a small slimline case (the same model in fact as I used for the fallout cause sp project). The reason for this is that it gives me a compact canvas to concentrate details and because the parts do not fit, they give me a modular look that I´ve always liked since I saw the original thermaltake Level 10 case (the first one, not the redesigned GT version).
This project is being sponsored by:
Some are new and some have been with me since the begining, either way I´d like to thank all of them for their support and amazing products!
I don´t normally list the hardware I will be using on my projects, but for the first time, this project will actually become my main PC so here are the basic details.
ASUS Maximus IV Gene-Z/GEN3
Intel i7 2700K
Kingston HyperX 16Gb DDR3 1866Mhz
2x Kingston HyperX SSD 240Gb in RAID
2x MSI GeForce GTX 560 Ti TwinFreeze OC 2Gb in SLI
NZXT HALE90-M-850w
B-Move Slim II Case
As for the rest of componentes, cooling and accesories, you´ll see them as they get mounted.
Let´s start then.
I´ve started with the structural modifications I need done on the case, the B-Move Slim II. I really like this case, it´s small, simple yet stylsh.
I´ve taken it all apart, I won´t be using any of the frontal conectors (except frontal USB & Audio) nor buttons or led.
For the design I have in mind to work, I need to cut the cover in parts, fit the upper and lower parts permanently to the case so the door is just the side, so here goes.
First part done:
And the second:
And now a test mount of the side panel:
It all fits fine, mostly because they have grips underneath that grab the frontal side of the case. This way it doesn´t become flimsy or weak.
Now the frontal of the case. I´ve removed everything from it as it has to be cut down in order to be made completely square and straight (which will later be filled to suit my frontal design).
First, cutting the left side so that a drive sized device can fit through it (originally it´s designed not to as it has a trap door with a open close button). Second is cutting all the elevated parts in order to make everything perfectly staight and squared. It will later be sanded down, and filled up to make it a solid block.
Now I´m going to be modifying the lower part of the case to suit the power suply, I´m using a used PSU for refference as it´s exactly the same size as the NZXT psu that will go in. In order to accomplish this I need to cut part of the lower section and modify the grip on it so I can still be fitted without the rear screw.
And done.
and the PSU fits nicely now.
Now I´m going to start customizing the PSU.
I´m going to be using a wood "look" vinyl, mostly as a design base so I have the lines and typical look of wood to work on.
And now the first stage of it´s paintjob, which in this case is mostly a mixture of inks, and ageing effects. Here´s the first stage:
And the final stage:
And the brass detail on the side that will be poping out of the case.
The camera flash shows what it actually looks like:
And finally a comparison shot between the standard vinyl and the "modified" one:
More to come soon!
Last edited: