How Many Case Fans Do You REALLY Need?

Share:
I finally have an AC unit so I can work in a temperature controlled environment which invites some case temperature testing. What we have here on the review table is the be quiet! Pure Base 500DX. We saw this case at CES and it is both competitive and affordable, and I’m hoping more companies follow and what be quiet! is doing here. The 500DX is basically an airflow iteration of the Pure Base 500, but the guts remain identical with a few exterior changes that make this a very competitive and an airflow heavy enclosure.
Our Test Subject – be quiet! Pure Base 500DX


Now that we find ourselves in a temperature controlled environment, I want to do some air flow testing, both by moving some fans around and adding some fans. We will determine what is the most optimal fan configuration for an airflow focused enclosure like the 500DX with my airflow system configuration. The reason why I think this testing will apply not only to the 500DX, but many other cases in 2020, is because many brands are choosing the whole front mesh panel and including quality fans. The 500DX for example comes with three 140mm Pure Wings 2 fans, which spin at 900 RPM. Don’t worry about the lower RPM because the larger fan does move more air and having a non-restrictive front intake allows for fantastic intake. Also the 900 RPM gives us that quiet operation, which be quiet! are obviously known for. In this article, we are going to test out 7 different fan configuration options, all using 140mm fans just so that we can utilize what is already included with the 500DX, and see what fan configuration is best.


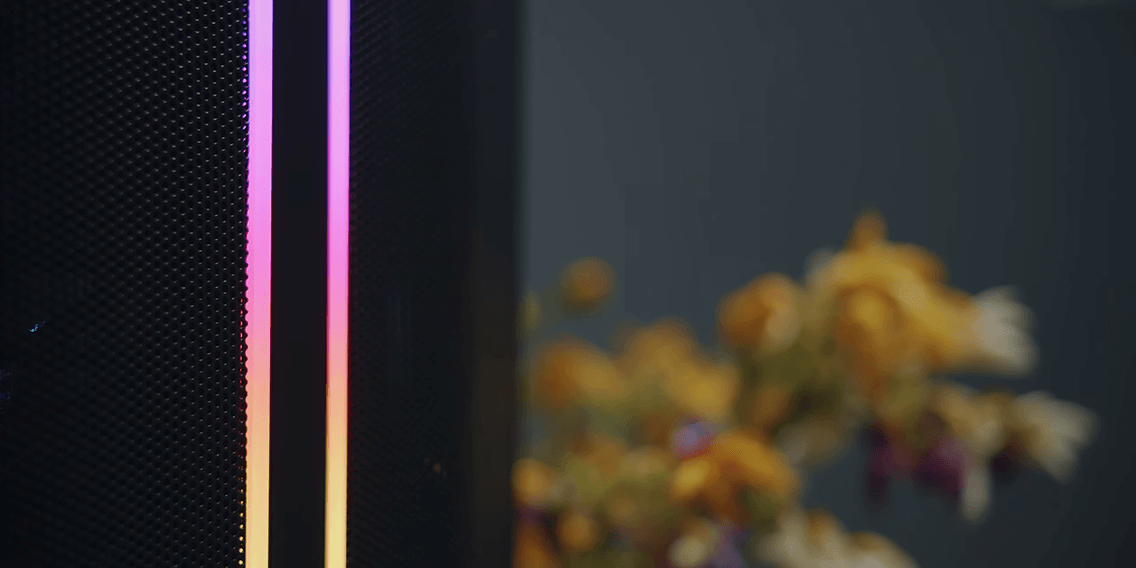


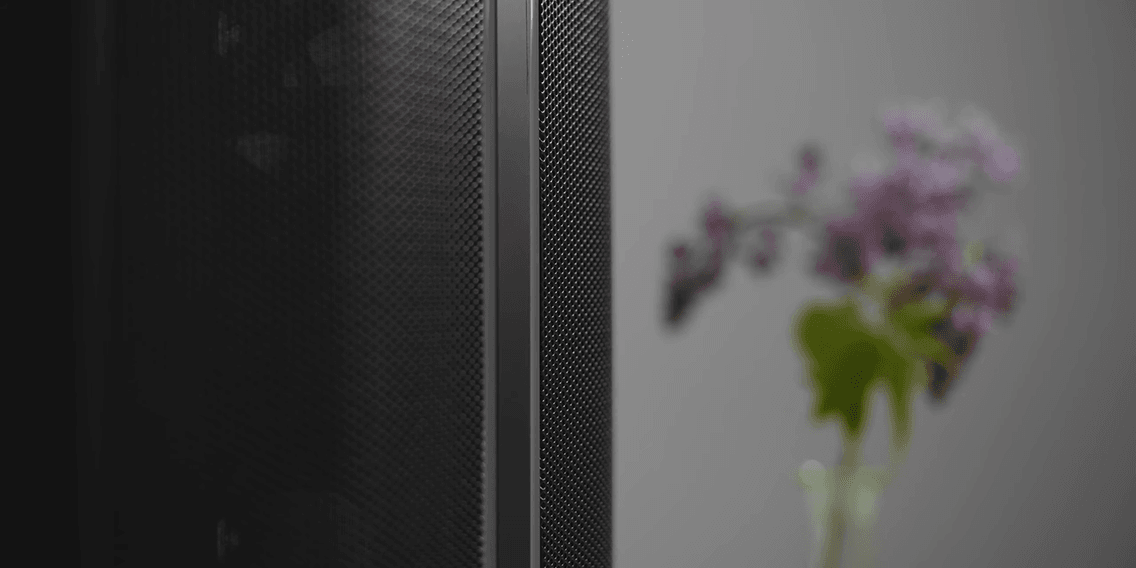
Before we get into the air flow testing, let’s quickly recap what is new on the 500DX. The front panel mesh is new, it has quite a high density of holes in both the left and right side with an ARGB strip in the middle. There is an internal RGB strip inside the case that is not visible when the side panel is on, it does help to eliminate whatever is in the top section of the case, and it does actually spill to the bottom all the way through the glass creating this pretty cool line at the bottom. I also like how it illuminates the power supply shroud corner so it helps to separate the internal sections. I find the illumination implementation inside this enclosure quite tasteful.


You can change the color and modes of this ARGB strip with a button at the top of the case. Here we also find a USB Type-C port and a single USB Type-A port, and I really do not like this pattern and this direction that many keys brands are now doing of skimping of front-panel ports. Now the good thing about the front panel is that we have pegs instead of wires that connect the main panel to the contacts on the chassis, but it is really difficult to remove this panel. When reinstalling the panel make sure all three pegs are making contact with that frame because otherwise the front illumination will not light up.


Behind this front mesh we have a dust filter spanning the entire portion of that intake, and we also have a bottom dust filter that is removable from the front without needing to remove the front panel first. The glass panel is attached with regular thumb screws, and the rubber bits on the frame stay with the frame, they are glued there and they don’t fall out when you remove the glass panel, which was the case with the Dark Base series. As for the top panel, we no longer have the closed off section, we only have the mesh magnetic plate, and behind it you can install dual 120mm or 140mm fans and their respective radiators. As for airflow at the front you can do triple 120mm or dual 140mm fans with their respective radiators too.


As for the interior, nothing has changed here. ATX motherboard support, a perforated power supply shroud, dual SSDs beside the motherboard, and this nice little cable cover that hides whatever is exiting from the back. The right side panel has some noise dampening foam applied to it that helps to compress some of the cables and just really dampen whatever is exiting through the right side of the case.
System Temperatures


I don’t really have anything else new to say about the 500DX, so now let’s begin the airflow experiment. I kept the room at 22°C verified by a professional thermometer with dual temperature probes, one that I kept on the outside of the case to measure ambient temperature just to make sure that my control point was on point and correct, and the fluctuations for that temperature probe was only 0.1°C. The second probe I kept right above the VRMs on the motherboard just to see if a hot pocket would accumulate there, and if you add more fans or remove fans what would happen to that space.


First let’s establish a reference point with our default fan configuration. The results for that setup are 74°C and 78°C on GPU and CPU respectively. These are pretty decent temps, and since that front panel is not a massive bottleneck for airflow we only drop 1°C on the GPU and 2°C on the CPU with that front mesh removed. Now removing the dust filter as well so we have a totally unrestrictive intake does drop temps slightly on the CPU but the GPU remains the same. The really interesting thing about the noise profile with a dust filter and the mesh removed is that they do dampen the sound little bit, but it’s basically sounds like an open enclosure already, which is why having lower RPM fans helps a lot. This machine has six fans running and it’s still very quiet.


Let’s see if we can move some fans around and get better temperatures. The first thing I wanted to do was move the top fan to the front so that both the CPU and GPU have that nice fresh column of air. As expected that fresh column of air does actually drop our CPU temperature by 3°C and only 1°C on the GPU, and this is without adding any fans, we are just reconfiguring what is already here. In my testing previously with cases like the H510 from NZXT having dual exhausts one at the top and one of the rear does actually help with CPU temperatures, but that case has a pretty restrictive front intake. With this case it seems like the benefit of having fresh air intake and having plenty of air exhausted out the back is enough to drop our CPU temperatures by a little bit.

What if we move those fronts fans to the top exhaust? Well the results actually surprised me quite a bit because our CPU temperature actually increased to 79°C. That is higher than our default control point, and the GPU temperature also increased by 1°C. It seems like having no intake inside the 500DX is not a good thing and having all the air exhausted isn’t enough to cool whatever is being accumulated inside the enclosure. I then decided to flip the top fans to intake air, the CPU temperature did drop to 78°C, so back to our control point, but the GPU actually increased in temperature. I’m guessing there is just nothing to remove whatever air is being accumulated at the bottom of the case. And finally, let’s populate all 140mm of fan slots, with two at the front, two at the top, and one for exhaust. I kept the top fans as intake and had the two front fans as intake as well, so there’s a lot of air being forced into the case. Both the CPU and GPU temperatures reached a 74°C equilibrium, giving us the coolest CPU temperature of 74°C, but still not too far off from the 78°C control point. And finally I rotated the top fans as exhaust and weirdly the CPU temperature did go back to 78°C, while giving us a nice cool GPU at 73°C.
What about that internal temperature probe above the VRMs? Well as you can see this space is only adequately cooled when there is an intake of air either from the top or the front, with a good balance of temperatures when we repositioned the top fan to the front. But what is really interesting here is that with the top fan set to exhaust this area becomes really toasty because of competing airflow streams between the lateral CPU cooler and vertical top exhaust. This should be mitigated if you rotate the CPU cooler.
Conclusion

It seems like for this type of mid-tower if we don’t have enough front intake the GPU temperatures suffer, and if we don’t have enough top exhaust GPU temperatures suffer again. The most interesting thing here is that if we have all fans populated the best configuration is having both the top and the front as intakes, this gives us better CPU and GPU temperatures at 74°C. The second best configuration is to simply move that top fan to the front intake, which is pretty surprising but then maybe we are encountering the law of diminishing by adding too much airflow where the components are adequate cooled already out of the box.


For my concluding remarks, this whole thing has been quite interesting. I really enjoyed being in a temperature controlled environment and playing with some variables to see what happens with our GPU and CPU temperatures. The most impressive thing is you don’t need to buy any more fans, simply relocating the top fan to the front will improve both GPU and CPU temps. If you really want to go all out and have the best temperatures inside this enclosure, then in my testing having intake at the top is better than exhaust for the CPU, and as long as you have adequate intake for the front GPU temperatures will not suffer. I hope you all enjoyed this one, I’m really interested to test this type of airflow configuration with many other airflow mesh front enclosures coming up in the future, like the Phanteks P500A.