After all these mods im still getting the Z wobble/banding. I watched
this as like the very very last thing to try to get rid of the Z wobble/banding. And the guy installed the linear rails without any real improvement. He mentioned that your best bet with the ender 5( as its already a very accurate printer) is to get the upgraded motherboard to reduce the vibrations (and noise) on the stepper motors. This made me think, by installing the belt tensioners, the stepper motors are getting much more force on them and the fact that I removed 2 of the 4 bolts on the steppers to install the dampers is probably not the best combo.
Im gonna return the dampers and get the motherboard upgrade instead. This way I can have the strength back on the steppers and allow more tension on the belts while improving noise and quality ! right?

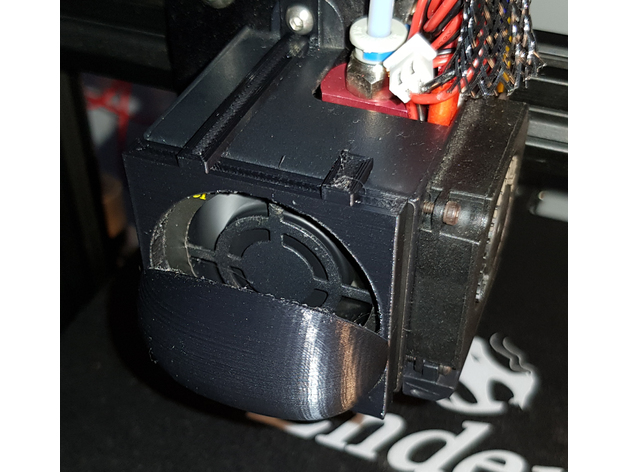

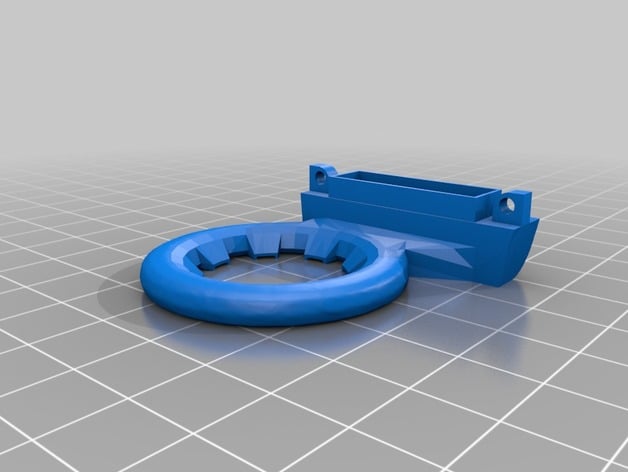
") ) but it printed fine and fit well.
) but it printed fine and fit well.


